
This post contains affiliate links. Please see our disclosure policy.

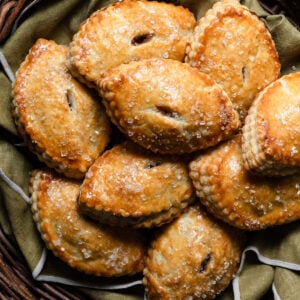
Apple hand pies are individually sized versions of the classic autumn apple pie. Made with a flaky, buttery pie crust and filled with chunks of fall-spiced apples. Baked until golden and finished with a generous sprinkle of sparkling sugar. No fork needed, just grab one and start eating!
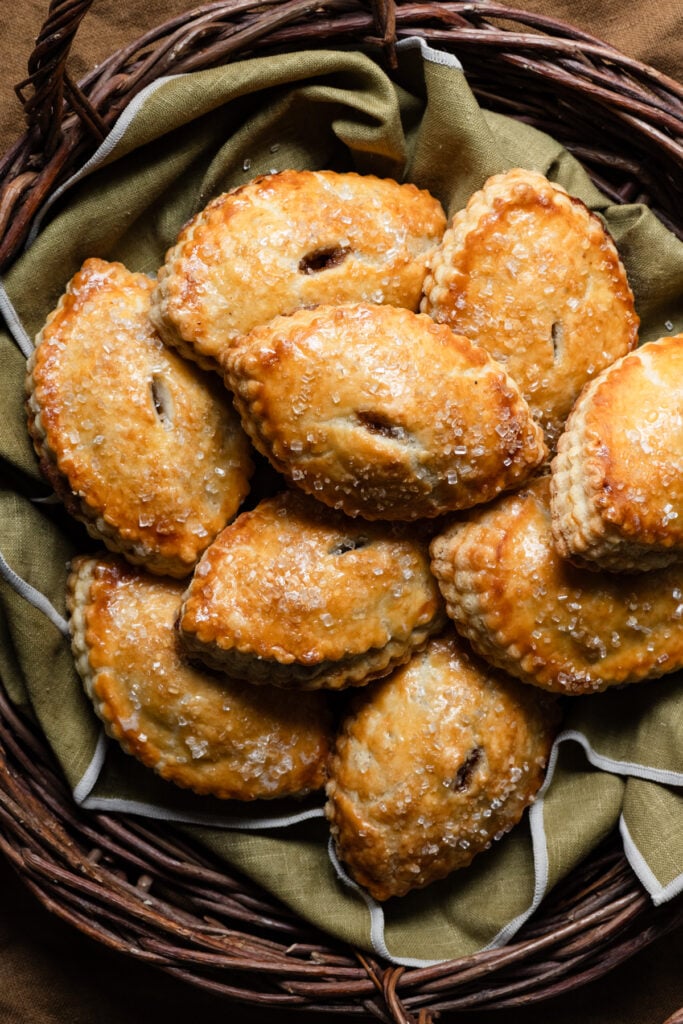
It’s pretty hard to beat a slice of warm apple pie, especially a caramel apple crumble pie. But, sometimes I don’t have the energy to make a whole pie. These mini versions of a classic Southern apple pie make sharing so much easier. They also make a pretty good breakfast treat, slightly warmed and eaten on the go.
When I was testing these hand pies, I tried several different shapes. Rectangles felt a little too similar to my iced apple Pop-Tarts. Circles were cute, but they seemed a little too predictable. Large ovals folded in half, like the French classic chaussons aux pommes, would have worked, but I wanted something that felt a little more like autumn. Then I remembered I had a set of oval cookie cutters with scalloped edges. Once I cut out the dough, I thought they looked just like little fall leaves. I couldn’t resist.
Simple Ingredients for Delicious Apple Pies
- All-Butter Pie Dough: For classic apple pie flavor, nothing beats my all-butter pie dough. It bakes up flaky, buttery, and sturdy enough to hold all that delicious apple filling.
- Ripe Apples: I prefer apples that hold their shape when baked rather than turning into mush. Granny Smith and Pink Lady apples work especially well and keep the sweetness balanced. I often use a mixture of both.
- Fall Spices and Granulated Sugar: Cinnamon, nutmeg, and allspice mixed with a little granulated sugar bring out the apples’ natural flavor without making the filling overly sweet.
- Egg Wash: To seal the top and bottom crusts, I brush a light coating of egg wash around the dough’s edges. A double coating on top gives the pies a beautiful golden-brown finish.
- Sparkling Sugar: I love my fruit pies with a little something special, and for me, that’s sparkling sugar. I add a light coating of syrup after baking, then sprinkle the pies with sparkling sugar for a glossy finish with a little sweet crunch. Adding it after baking preserves that pretty glitter effect, which otherwise melts slightly in the oven.
How to Make Apple Hand Pies
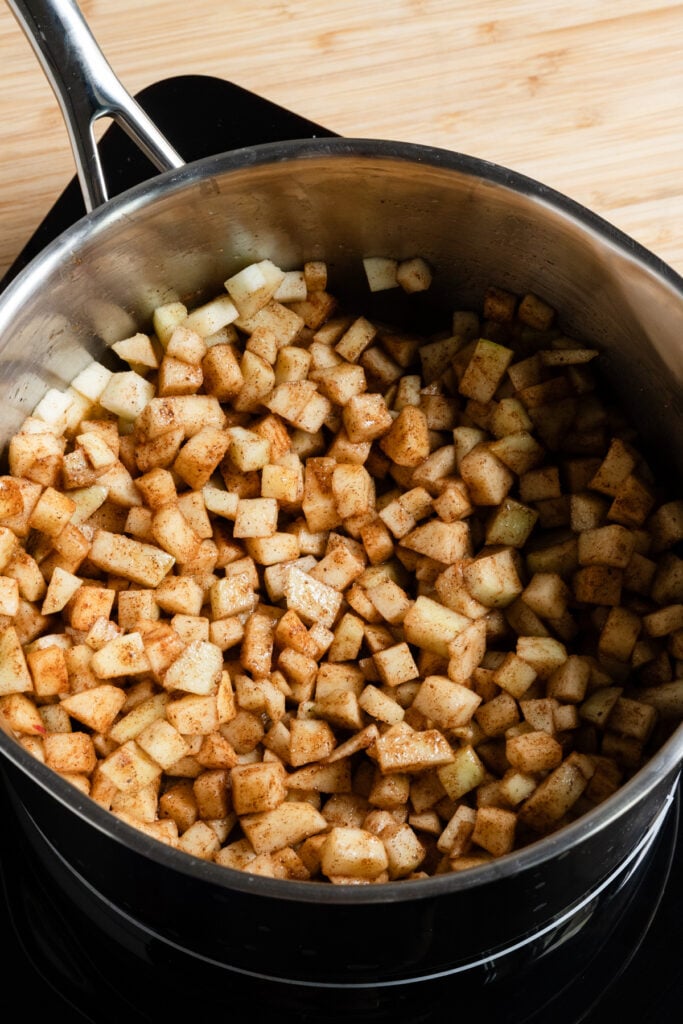
- Stir together apple chunks, sugar, water, and spices in a medium saucepan on medium heat.
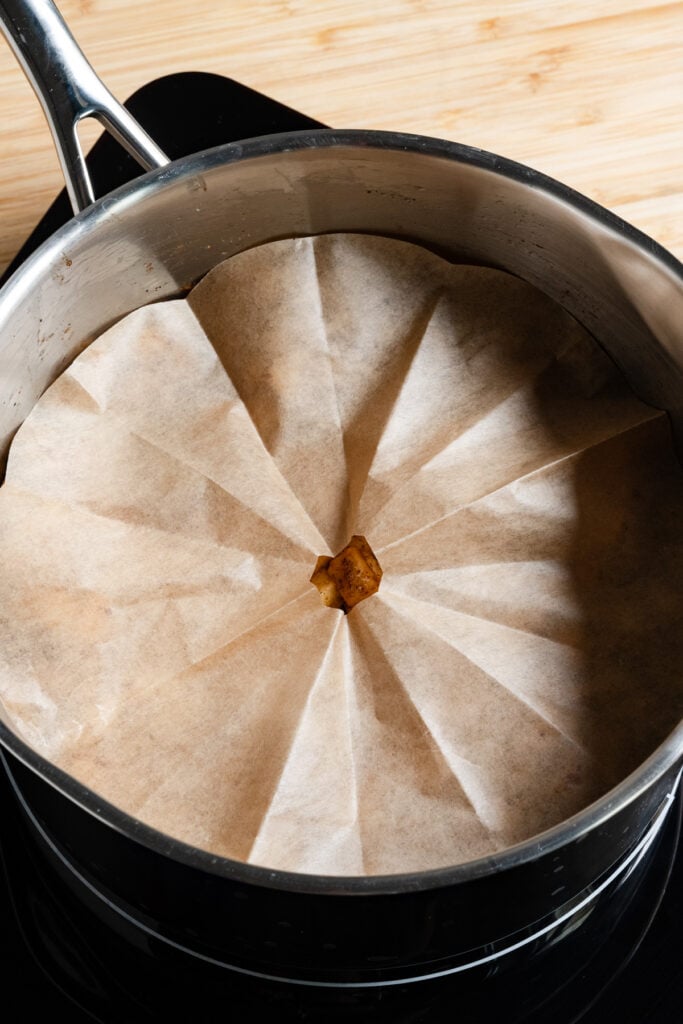
- Place a cartouche (parchment paper circle with hole in the center) directly onto the apples to trap in the steam.
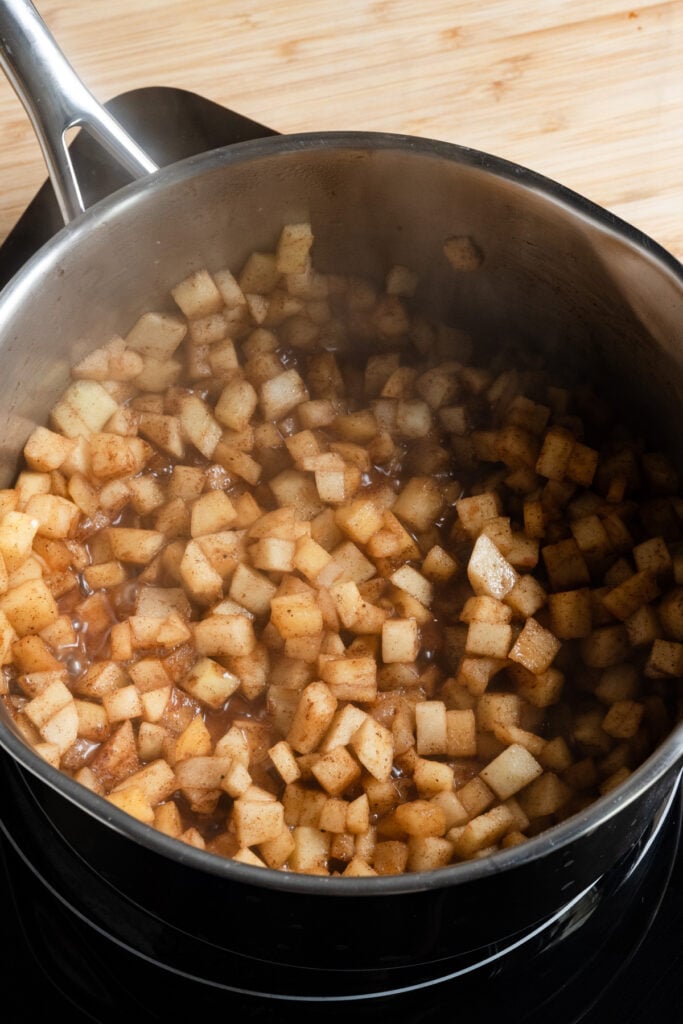
- Cook the apples for 10-12 minutes until softened before removing the cartouche.
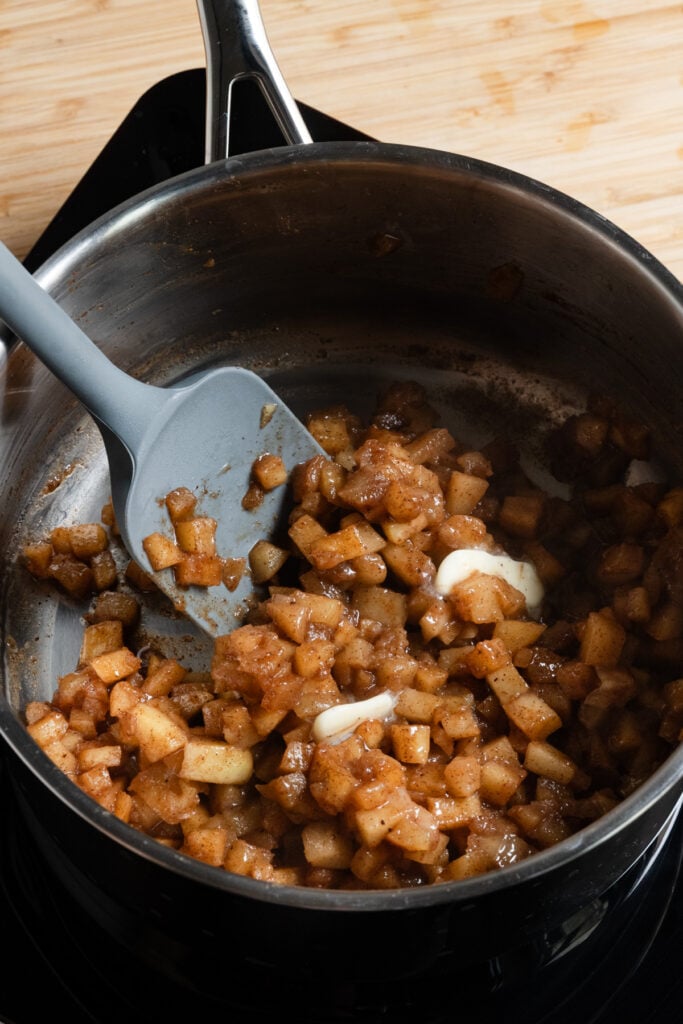
- Stir in the butter and transfer to a separate container. Cool apple filling and then refrigerate until ready to use.
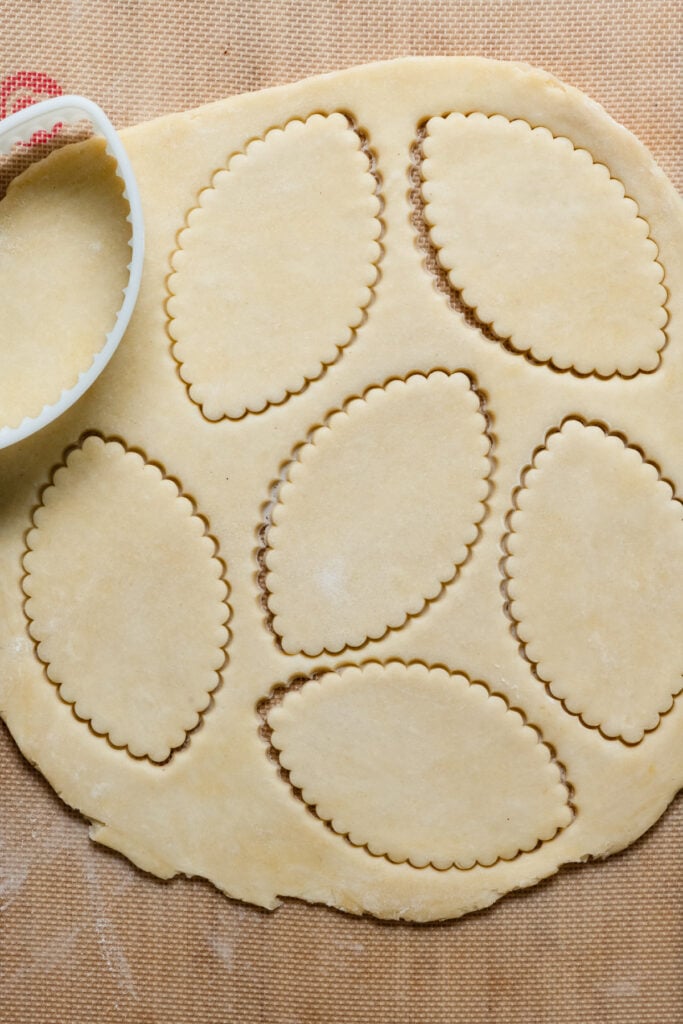
- Roll out homemade pie dough to 1/8-1/4 inch thickness. Cut out 4.5 x 3-inch leaf shaped ovals or rounds. You will need two cutouts per hand pie.
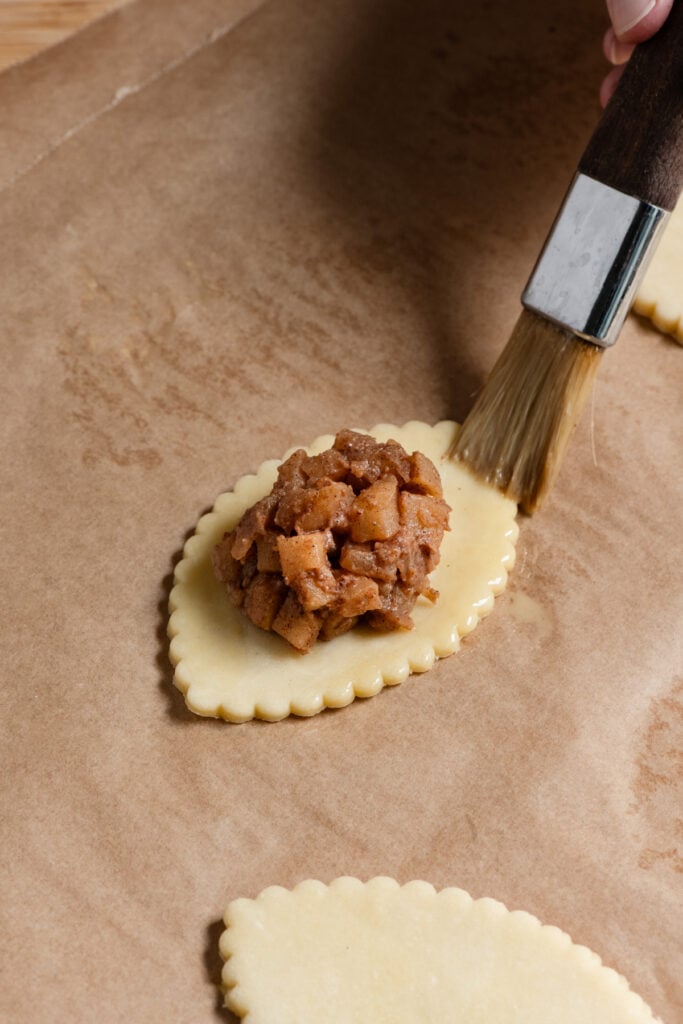
- Place one dough cut out on a prepared baking tray for the base of a hand pie. Scoop 1.5 Tbsp of cold apple filling into the center. Paint a thin coating of egg wash around the edges of the dough.
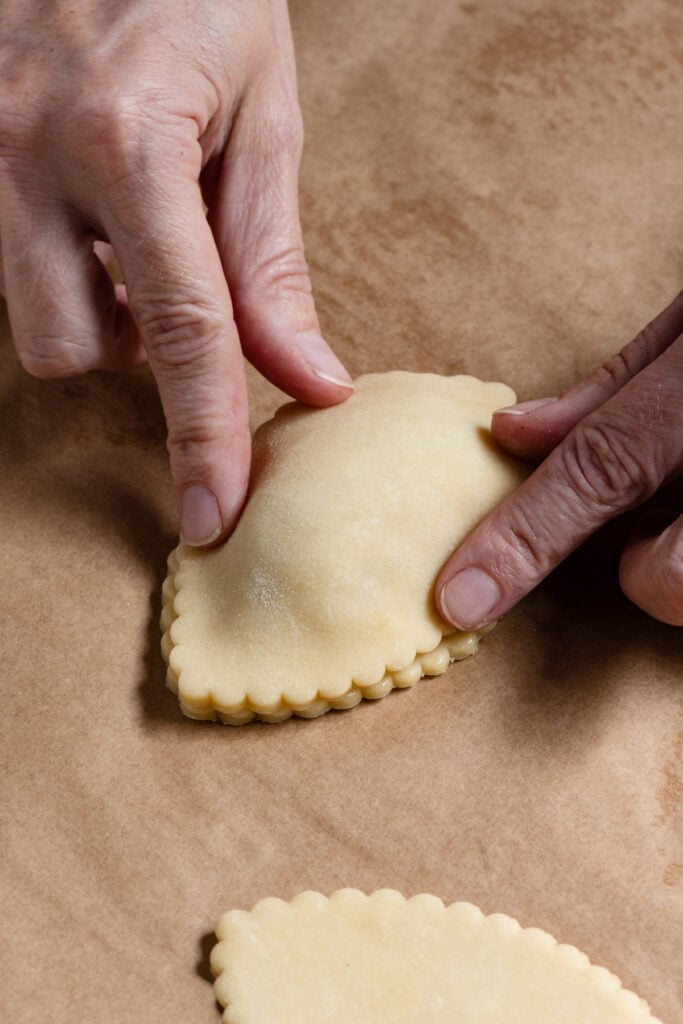
- Take the second cutout and gently stretch it slightly so it will easily cover the apple filling. Lay it over the top, then press the edges down to seal the filling inside and secure the top and bottom crusts together.
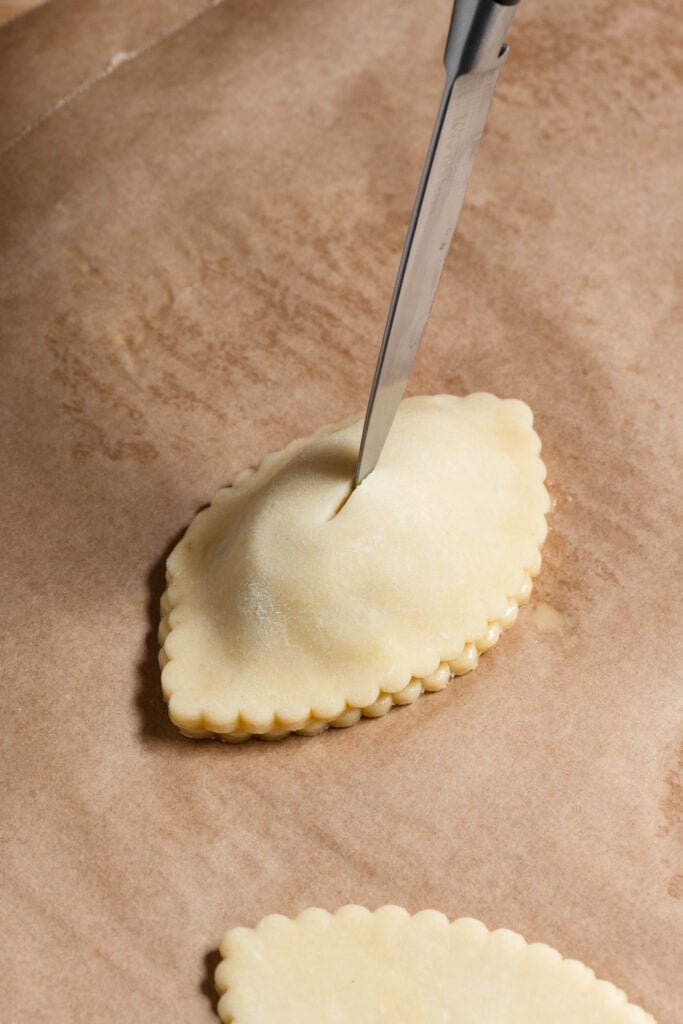
- Take a small knife and cut slit into the center of the top crust to allow steam to escape while baking.
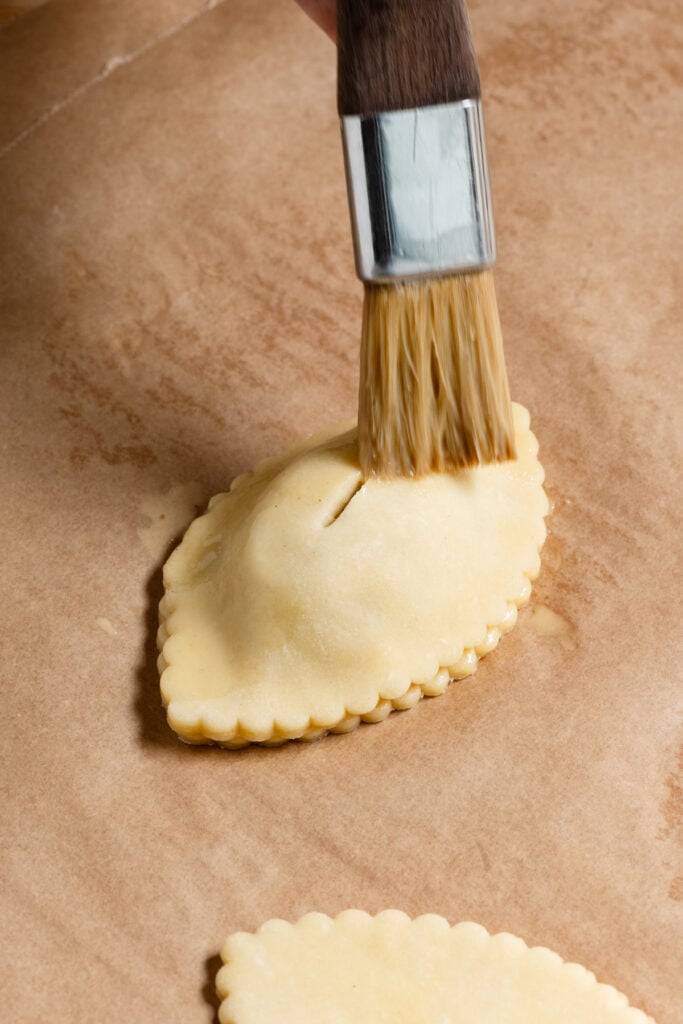
- Cover the top of the hand pie with a coating of egg wash. Repeat with remaining dough and filling. Then chill hand pies in the fridge for 30 minutes or freezer for 10 minutes until the dough is cold and firm.
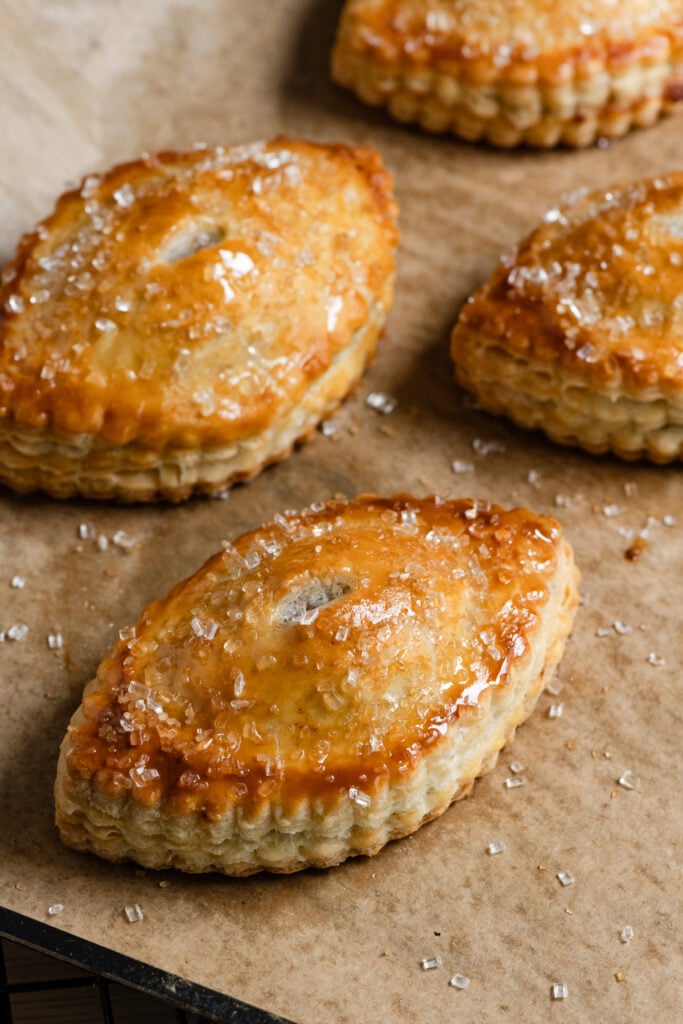
- Bake pies until golden brown. Paint a thin coating of sugar syrup onto warm pies and sprinkle with sparkling or coarse sugar.
Apple Hand Pie Tips
- Make Ahead: Prepare the pie dough and apple filling the day before. Store both in the refrigerator until you’re ready to assemble the hand pies. Let the dough come close to room temperature before rolling and cutting. The apple filling is actually easier to pack into the hand pies while it’s cold.
- Right Dough Thickness: Roll the pie dough to in between 1/8-inch and 1/4-inch. It will puff and create flaky layers in the oven. Too thick and it will be hard to shape, too thin and it might tear while shaping.
- Stretch the Top Crust: Gently stretch the top dough layer with your fingertips, or use a rolling pin, so it can easily cover the apple filling and line up with the edges of the bottom crust.
- Chill Before Baking: Once the hand pies are assembled, chill them in the refrigerator for 30 minutes or in the freezer for 10 minutes to firm up the dough. Starting with cold dough helps the hand pies hold their shape better in the oven.
- Glaze Warm Pies: Brush a simple syrup glaze over the pies as soon as they come out of the oven. The warm crust will absorb just enough syrup to give the pies a lovely shine
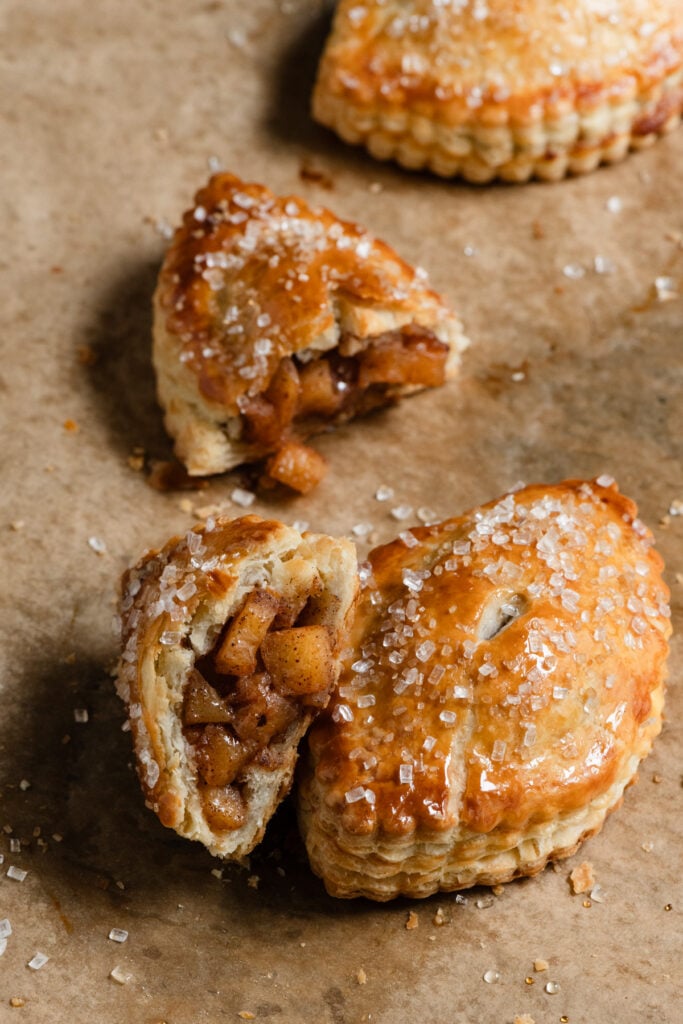
Storing and Reheating Hand Pies
Fridge or Room Temp: Place baked hand pies in an airttight container. Keep at room temp for 3 days, which keep the crust crisp or in the fridge for up to 5 days.
Reheat: Preheat oven to 350°F (180°C). Heat for 5 to 10 minutes until warm.
★★★★★ Please leave a star rating and review below if you make this recipe! THANK YOU!!
Apple Hand Pies
Equipment
Ingredients
Hand Pie Crust
- 1 double Homemade All Butter Pie Dough
Apple Pie Filling
- 400 grams (3-4 medium) granny smith of pink lady apples, peeled, cored, and cut into small cubes (brunoise)
- 1 Tbsp water
- 1.5 tsp ground cinnamon
- 1/4 tsp ground nutmeg
- 1/4 tsp ground allspice
- 50 grams (¼ cup) granulated sugar
- 1 tsp vanilla bean paste or pure vanilla extract
- 28 grams (2 Tbsp) unsalted butter
Egg Wash
- 1 large egg, beaten with a fork
- 1 tsp heavy cream
Syrup Glaze
- 25 grams (2 Tbsp) water
- 30 grams (2.5 Tbsp) granulated sugar
Topping
- sparkling sugar or coarse sugar
Instructions
Hand Pie Crust
- Make a double crust batch of homemade pie dough. Cover with plastic wrap and let rest in the fridge for at least 1 hour before rolling out.1 double Homemade All Butter Pie Dough
Apple Pie Filling
- Combine apple chunks, spices, water, sugar, and vanilla in a medium saucepan. Stir to evenly coat the apples.400 grams granny smith of pink lady apples, 1 Tbsp water, 1.5 tsp ground cinnamon, 1/4 tsp ground nutmeg, 1/4 tsp ground allspice, 50 grams granulated sugar, 1 tsp vanilla bean paste or pure vanilla extract
- Cover the apples with a cartouche. Just like lining the bottom of a cake pan, cut a circle of parchment paper to fit inside the saucepan, with a hole in the center to release steam. This will trap enough steam to soften the apples without them drying out.
- Cook the apples on medium heat for 10-12 minutes until softened. Lift the cartouche halfway and give the apple a good stir.
- Remove the pan from the heat and stir in the butter until melted. Transfer filling to a separate container to cool. Cover and store in the fridge until ready to use.28 grams unsalted butter
Make Apple Hand Pies
- Preheat oven to 400℉ (200℃) no fan. Line a baking tray with two layers of parchment paper.
- Roll out the dough to 1/8-1/4 inch thickness. Cut out 4.5 x 3-inch inch ovals with a cookie cutter. You can also cut 4.5-inch circles with a round cutter. You will need a top and bottom oval for each hand pie.
- If at anytime the dough becomes too soft to handle, pop it back in the fridge for 20 minutes.
- Place one oval on the prepared baking sheet. Scoop 1.5 Tbsp of the cooled apple pie filling into the center of the oval. Paint a thin coating of egg wash around the filling towards th edges of the dough.1 large egg, 1 tsp heavy cream
- Take a separate oval piece of dough and gently stretch it slightly to widen it. Cover the apple pie filling and press the edges down onto the bottom piece of dough sealing the two together. Use your fingertips and try to keep the filling in the center.
- Take small sharp knife and cut a slit in the center of the top of the hand pie to let steam escape while baking. Paint the top of the hand pie with a coating of egg wash. Repeat with remaining dough and filling.
- Place the filled pies in the fridge for 10 minutes of freezer for 10 minutes to firm before baking. When the butter is cold the dough will hold its shape better while baking. Option to ass a second coating of egg wash for a darker crust.
- Place the tray on the middle oven rack and bake for 25-28 minutes until the pies are golden brown on top.
Syrup Glaze
- Stir the sugar and water together in a small saucepan on medium heat. Cook until just starting to simmer and sugar has dissolved.25 grams water, 30 grams granulated sugar
- Transfer the baking tray to wire cooling rack. Paint a thin coating of sugar syrup across the top of the warm pies. Sprinkle with sparkling sugar.sparkling sugar or coarse sugar
- Let the pies cool for 10-15 minutes before serving warm.
