This post contains affiliate links. Please see our disclosure policy.


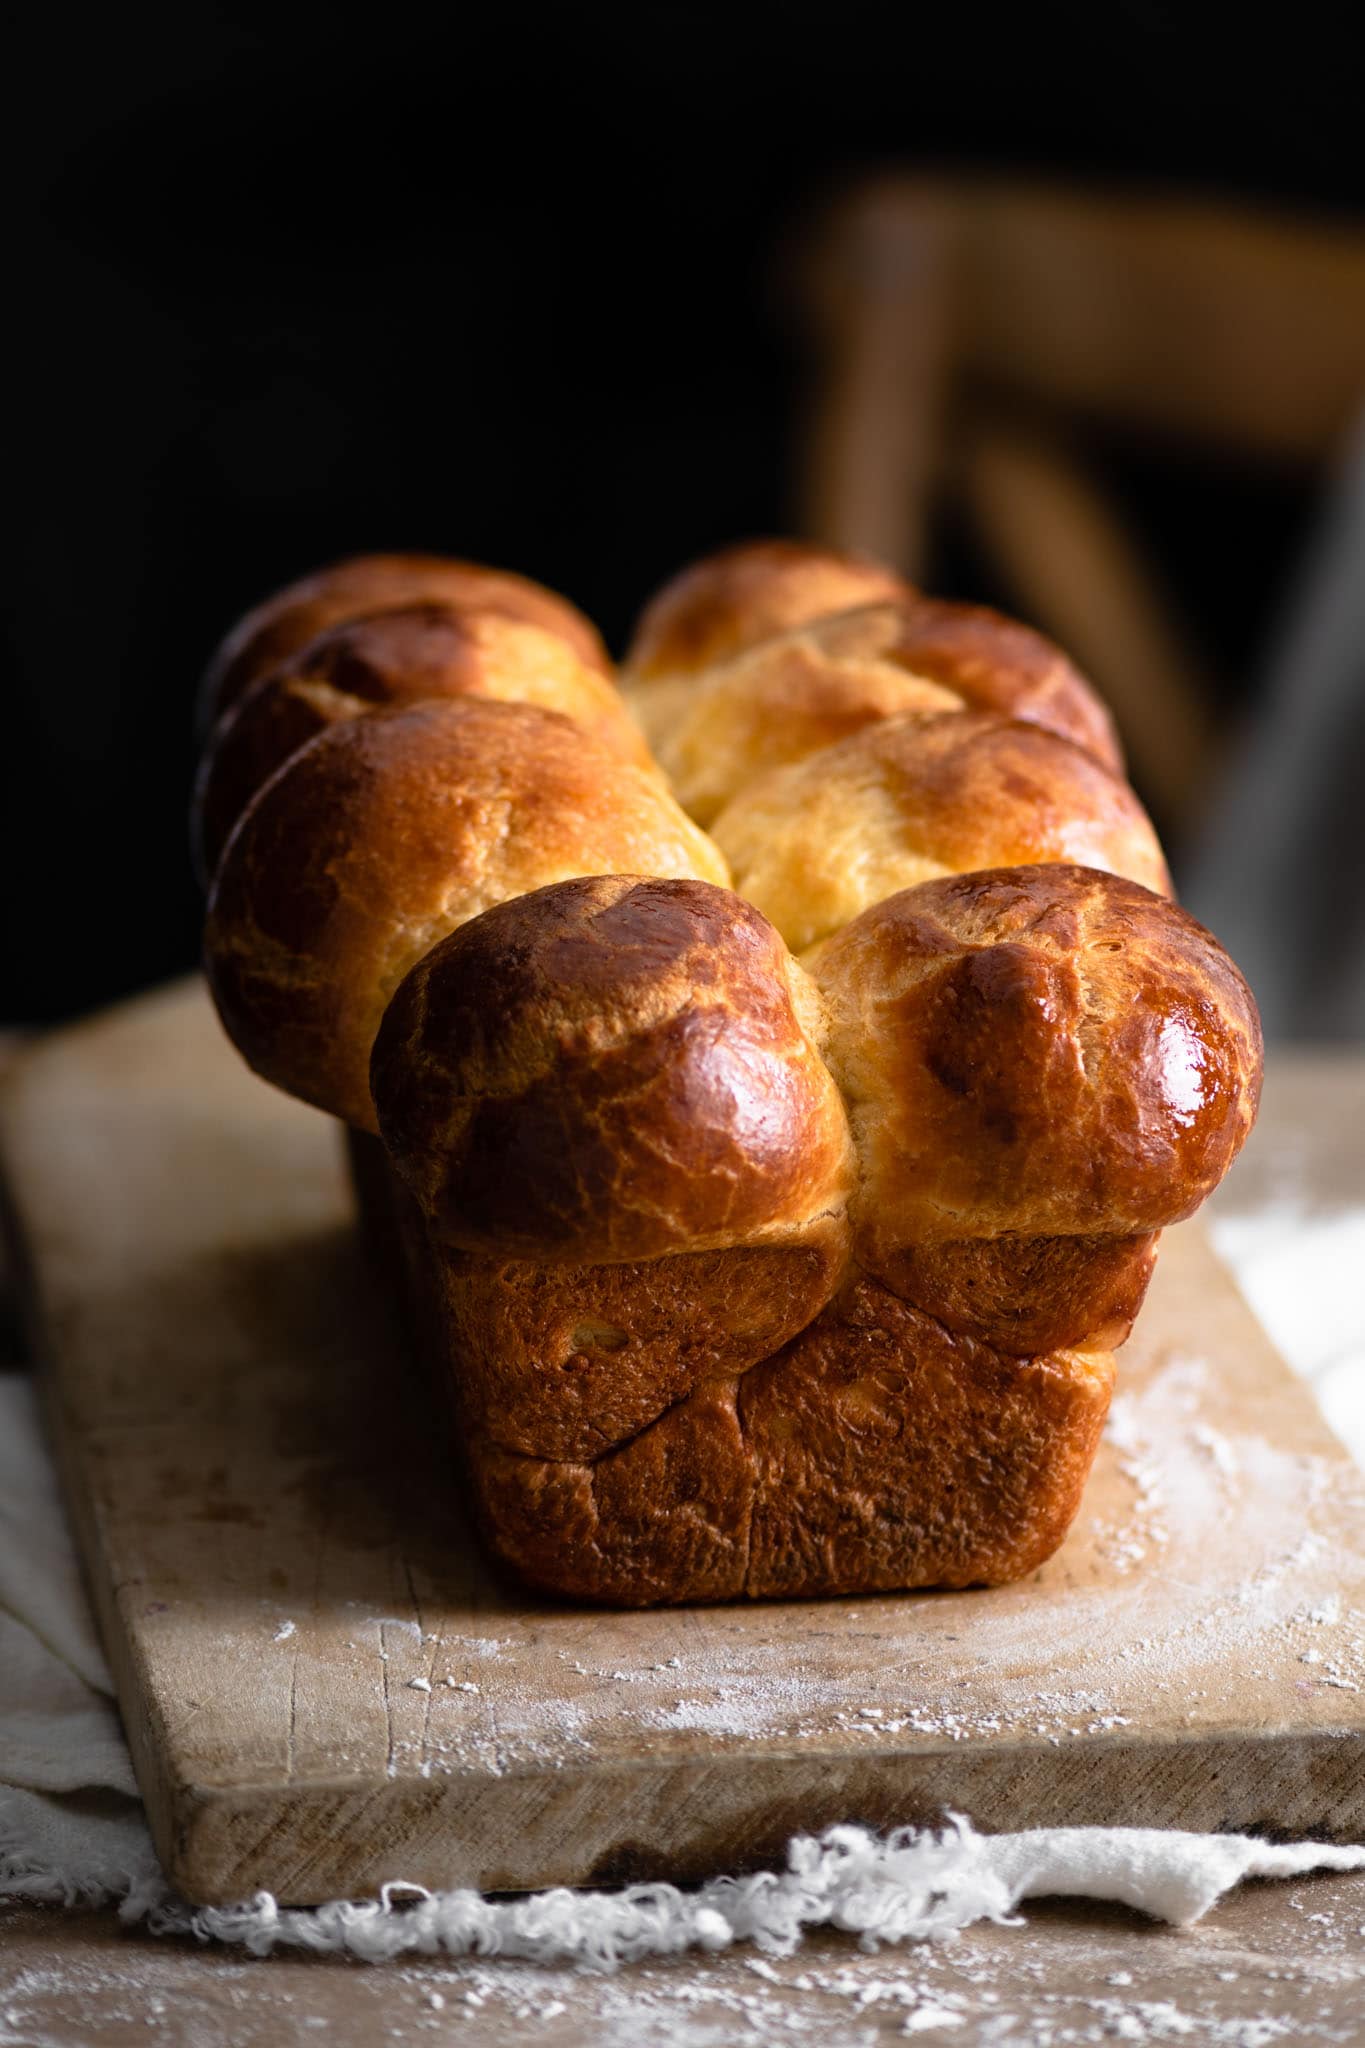
Brioche Nanterre is a loaf bread made with two layers of brioche dough rolled into balls. A French origin bread very rich in butter and eggs, but still resulting in a light fluffy texture.
The yeast mixed with warm milk gives rise to the overly fat dough to give it a more poofy shape. I would serve it for breakfast with nut butter or jam. Plus, if you’re a french toast lover, this is the bread to use!

This year I have pledged to improve my bread skills and take on more difficult recipes. Brioche Nanterre being a classic technique that I’ve never tried will be the first to start my bread pilgrimage. I found this recipe by Jacquy Pfeiffer | The Art of French Pastry and decided to give it a go. Three times to be exact! I found timing the proofs to be essential in delivering the best final loaf.
Making the Nanterre:
The most interesting part about this recipe is the mixture of warm and cool proofs. Proofs being the resting time for your dough to rise and fill with air. The first attempt at Brioche Natarre resulted in a perfect loaf minus the slight “rustic” shape to the top spheres. Let’s just say I have since perfected my brioche dough ball rolling.
The second bake I adjusted my proof technique to exclude an overnight cold proof. I did the initial warm proof, then a second cold proof in the fridge, prepared my brioche and then the final warm proof before baking. Everything looked the same as the first, only my dough was much smoother!
Of course at the height of perfection I got lured into a great movie and forgot about my loaf proving. UGH!! The back two dough balls had jumped out of the pan, pushed over by the “overly proved” lower row. Whoops! You can over proof dough, duh! So I just plopped them back on, slightly deflated and baked it anyway. The result was a lovely loaf, a bit too poofy, with a couple flattened sections.
Onto the third attempt, wishing I had just rolled those first dough balls a bit smoother. I went back to the original warm, cold, then overnight cold, and final warm proof before baking. This time I did not get distracted and watched my final proof a bit more closely. The trick is to allow the dough balls to poof just enough that they are doubled in size and filling up the pan. If they start to go over the edges, then it will be trouble in the oven. Happy to report the final loaf turned out just as I had originally hoped!
Now, I must say that all three loaves were edible with good texture. I just became determined to have the smooth rounded loaf of my dreams 🙂

Helpful Tips
- Allow 2 days to make your bread. Use a 9 x 5 loaf pan (slightly smaller works well too)
- Follow the steps exactly for the best final result.
- Lay out your ingredients and ‘weigh’ them before you start. Kitchen scales are cheap and baking is accurate, so there you go.
- Use quality ‘french style’ butter with lots of fat. Sorry there is absolutely no substitute for butter in this recipe. The French love butter and so do I!!
- Make sure your butter is soft. Don’t melt it, just let it warm to room temperature.
- Use warm milk, not hot with your yeast mixture. (Milk, yeast, and flour referred to as “poolish’ in this recipe).
- Use a dough hook on a stand mixer to make the dough.
Make the Dough
- Once my “poolish” or yeast mixture was ready, I added the eggs and mixed with dough hook. Taking a spatula and gently scraping bottom of bowl once.
- Then on medium speed slowly spoon in all your flour mixture.
- Turn the speed to medium high and let it beat the mixture until a ‘dryish’ ball forms.
- Keep you mixer going while you drop hunks of butter into the bowl. (About a Tbsp at a time.)
- Make sure each piece of butter is incorporated before adding the next.
- The dough should be sticking to the hook and as it twirls grabbing the butter.
- Once all the butter is incorporated, the dough should be pulling away from the edges. If you find it to be too wet and sticking all over the sides of the bowl, simply add 1 Tbsp of bread flour.
- The dough will be sticky. Pull the dough from the hook and scrape off the bowl. Place your dough in a lightly floured medium-large bowl. Cover it with plastic wrap.
Proving the Dough
- The first proof should be in a warm draft free location for up to 2 hrs. It may take a bit longer depending on location. The dough should double in size.
- Punch down the dough to release the air. Cover back up and place in the fridge.
- The second proof is cold and should take about two hours.
- Punch down the excess air once again, cover and leave in the fridge overnight(8 hrs). You can skip this overnight step and go straight to rolling balls and third proof. I couldn’t tell a difference between the taste.
- Remove dough from fridge the next morning, and scrape onto a lightly floured surface.
- The dough should be firm, resembling cookie dough.
- Weigh your dough and evenly divide into 16 pieces.
- Prepare your loaf pan.
- To roll your dough balls, simply take one piece and cup your hand over top. Use light pressure, then vigorously roll in a small clockwise direction with right hand. Opposite if you are a lefty. Even better if you can do a dough ball in each hand and multitask.
- You should be able to roll a nice smooth ball.
- Repeat with all the dough pieces.
- Arrange 8 balls in a row on the bottom. Lightly coat your first layer with egg wash.
- Place the final 8 balls directly on top of the first row. Do not press down. Apply a thin coating of egg wash.
- For the final proof, set your loaf pan in a warm draft free location. I usually place mine in the oven on a low rack with the light on. (oven turned off!)
- Keep an eye on your loaf to make sure it doesn’t over prove! The dough balls should double in size, but not spill over the edges of the pan. (1-2 hrs)
- I timed my last prove to 90 minutes and kept a close eye. If the dough balls get to big before baking, they will grow huge in the oven and detach.
Baking
- Apply a final thin coat of egg wash before baking.
- Place loaf on the bottom rack.
- Bake for 25-30 minutes. Halfway through baking lightly make an aluminum foil tent to cover your loaf to prevent over browning.
- You should now how have a perfect Brioche Nantarre!!!

★★★★★ Please leave a star rating and review below if you make this recipe! THANK YOU!!
Brioche Nanterre

Ingredients
Poolish | Yeast Mixture
- 3 Tbsp plus 2 tsp (50 g) Warm Whole Milk
- 2 tsp Active Dry Yeast
- 1/2 Cup plus 2 Tbsp (60 g) All Purpose Flour
Brioche Dough
- 2 3/4 Cups plus 1 1/2 Tbsp (340 g) Bread Flour
- 3 Tbsp Granulated Sugar
- 1 1/4 tsp Sea Salt
- 7 Ounces (200 g) Unsalted Butter, French Style 82 % fat, softened
- 4 Whole Eggs , cold
Egg Wash
- 1 Whole Egg beaten with a fork
Instructions
Make the Dough
- In a medium bowl whisk together bread flour, sugar, and salt. Set aside.
- In the bowl of stand mixer, combine warm milk and yeast. (Milk should be 100-110F | 37-43 C)Give a gentle stir, then spoon your All Purpose flour over the wet yeast to create a blanket.
- Let sit 10-15 minutes until you see a crack in the flour. ( If your milk was the correct temperature, the flour works as a barrier to trap the heat and activate the yeast.
- Once the yeast mixture is ready, add the eggs.
- Using a dough hook, start to mix on medium speed.
- Take a spatula and gently scraping bottom of bowl once to incorporate all the ingredients.
- After eggs are mixed in, slowly spoon in the flour mixture on medium speed.
- Turn the speed to medium high and let it beat the mixture until a ‘dryish’ ball forms.
- Keep you mixer going while you drop hunks of butter into the bowl. (About a Tbsp at a time.)
- Make sure each piece of butter is incorporated before adding the next.
- The dough should be sticking to the hook and as it twirls grabbing the butter.
- Once all the butter is incorporated, the dough should be pulling away from the edges. (If you find it to be too wet and sticking all over the sides of the bowl, simply add 1 Tbsp of bread flour.)
- The dough will be lightly sticky. Pull the dough from the hook and scrape off the bowl. Place your dough in a lightly floured medium-large bowl. Cover it with plastic wrap.
Proving the Dough
- The first proof should be in a warm draft free location for up to 2 hrs. It may take a bit longer depending on location. The dough should double in size.
- Punch down the dough to release the air. Cover back up and place in the fridge.
- The second proof is cold and should take about two hours.
- Punch down the excess air once again, cover and leave in the fridge overnight(8 hrs).
- Remove dough from fridge the next morning, and scrape out of bowl onto a lightly floured surface.
- The dough should be firm, resembling cookie dough.
- Weigh your dough and evenly divide into 16 pieces.
- Prepare your loaf pan with a light coating of non-stick spray and line the bottom with parchment paper.
- To roll your dough balls, simply take one piece and cup your hand over top. Use light pressure, then vigorously roll in a small circle.
- You should be able to roll a nice smooth ball.
- Repeat with all the dough pieces.
- Arrange 8 balls in a row on the bottom of pan. Lightly coat your first layer with egg wash.
- Place the final 8 balls directly on top of the first row. Do not press down. Apply a thin coating of egg wash.
- For the final proof, set your loaf pan in a warm draft free location. I usually place mine in the oven on a low rack with the light on. (oven turned off!)
- Keep an eye on your loaf to make sure it doesn’t over prove! The dough balls should double in size, but not spill over the edges of the pan. (1-2 hrs)
Baking
- Preheat Oven to 350 F (176 C).
- Apply a final thin coat of egg wash before baking.
- Bake for 25-30 minutes. Halfway through baking lightly make an aluminum foil tent to cover your loaf to prevent over browning.
- Loaf is cooked when knife inserted comes out clean without raw dough. Or has reached an internal temperature of 190 F.


Hello, I’ve got a quick question before I make the Brioche. I use a French Flour for Brioche, I’m not sure if you’re familiar. Have you used anything besides bread flour and which did you use? I’ve used KAF in past. Thanks!
I am in trouble, it is 3pm and I just started the first proof, I will be able to punch down after first proof and place in fridge but then I have to go out, can i do one longer 2nd proof and skip the third overnight? I would bake the brioche later tonight around 10pm.
I hope that works…
Yes, that should work, how did it turn out?
This was amazingly GOOD. I tried the whole 8hr in the fridge process. Next time, I’ll go for the shortcut. The bread was too good
Yay!! So glad you liked it 🙂