This post contains affiliate links. Please see our disclosure policy.
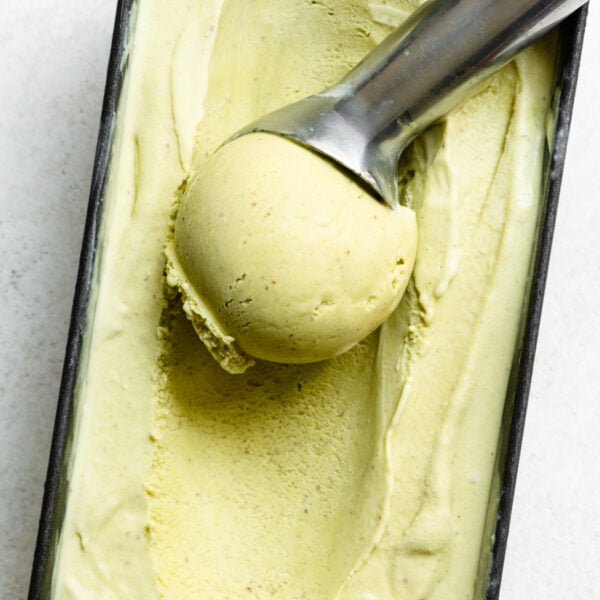
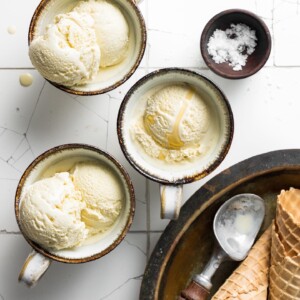
Salted Honey Ice Cream is a dreamy homemade custard thats silky, scoopable straight from the freezer, and full of rich, golden honey flavor. Sweetened with honey and flavored with vanilla bean, it’s perfectly balanced with a pinch of flaky sea salt. I love how the honey keeps the texture soft and luscious, making this my favorite base for any ice cream flavor.

Key Ingredients & Test Notes
- Heavy Cream (32–35% fat) – The higher the fat, the richer the ice cream. This gives you that ultra-luxurious texture of nostalgic ice cream.
- Test Note: I’m using a 1:1 heavy cream to milk ratio, for a higher fat luxurious ice cream.
- Whole Milk (at least 3.6% fat) – Balances the richness of the cream while keeping the custard smooth and scoopable.
- Granulated Sugar – While honey brings moisture and a complex floral sweetness, granulated sugar helps stabilize the egg yolks during tempering and contributes to the overall creaminess by lowering the freezing point.
- Honey: Not only does it bring deep, natural sweetness, it creates a lovely silky texture. Using an invert sugar, aka honey, helps to inhibit sugar crystallization, resulting in an ice cream that doesn’t freeze into a solid block.
- Test Note: Choose a bold honey like wildflower and sourwood, or try an infused one with notes of orange or thyme.
- Milk Powder (optional)– My favorite mix-in for extra creaminess and body, dut to added milk solids.
- Large Egg Yolks– Yolks are used to make a French custard base that’s rich, velvety, and classic.
- Vanilla Bean Paste or Extract – Enhances the complex flavor of the honey without overpowering it.The warm, aromatic notes of vanilla blend with the dairy and honey, to balance the overall taste of the ice cream.
- Test Notes: Vanilla bean paste or a scraped vanilla bean pod will give the ice cream beautiful black flecks throughout.
- Booze (optional, but great!) – A splash of alcohol makes your ice cream easier to scoop and can add extra flavor. Stir some into the base before churning. Since it doesn’t cook off, skip it for a kid-friendly version.
- 2 tablespoons keeps things soft without changing the flavor. Vodka will have the least flavor.
- 4 tablespoons adds a gentle boozy note that plays well with honey. Bourbon, Rum and Armagnac are great!

How to Make Honey Ice Cream
Whisk the yolks
Start by whisking the egg yolks in a small bowl until they’re nice and smooth, then set them aside. This gives you a head start for making that dreamy custard base.
Heat the dairy and honey
In a medium saucepan, combine the heavy cream, whole milk, and a pinch of flaky salt. Heat over medium until it reaches 113℉ (45℃) on instant thermometer, stirring occasionally.
Temper the yolks
Stir in the granulated sugar, followed by slowly drizzling in the beaten egg yolks, while constantly whisking. Since the liquid is not too hot at this point, it’s easier to temper the eggs right after the sugar and directly into the base.
Cook the custard
Reduce the heat to medium-low and continue to cook the base until it reaches between 175℉ (79℃) and 180℉ (82℃) on the thermometer. Stir continuously with a whisk or silicone spatula to prevent over-cooking the custard at the bottom of the saucepan.
The custard should thicken slightly. Because of the honey, this base stays a bit thinner than traditional custards, but you’ll notice it coat the back of a spoon when it’s ready.
Strain and flavor
Pour the custard through a fine mesh strainer into a container (this catches any sneaky bits of cooked egg). Stir in the honey, vanilla bean paste or extract, the alcohol and give it a good mix. You can use a quick blitz with an immersion blender too!
Chill thoroughly
Cover and chill the custard in the fridge for at least 6 hours, or overnight if you can. The colder your base, the creamier your churned ice cream will be.
Churn it up
Churn the chilled custard in your ice cream maker according to the manufacturer’s instructions, about 28-30 minutes. It should look soft-serve consistency when it’s done.
Freeze until firm
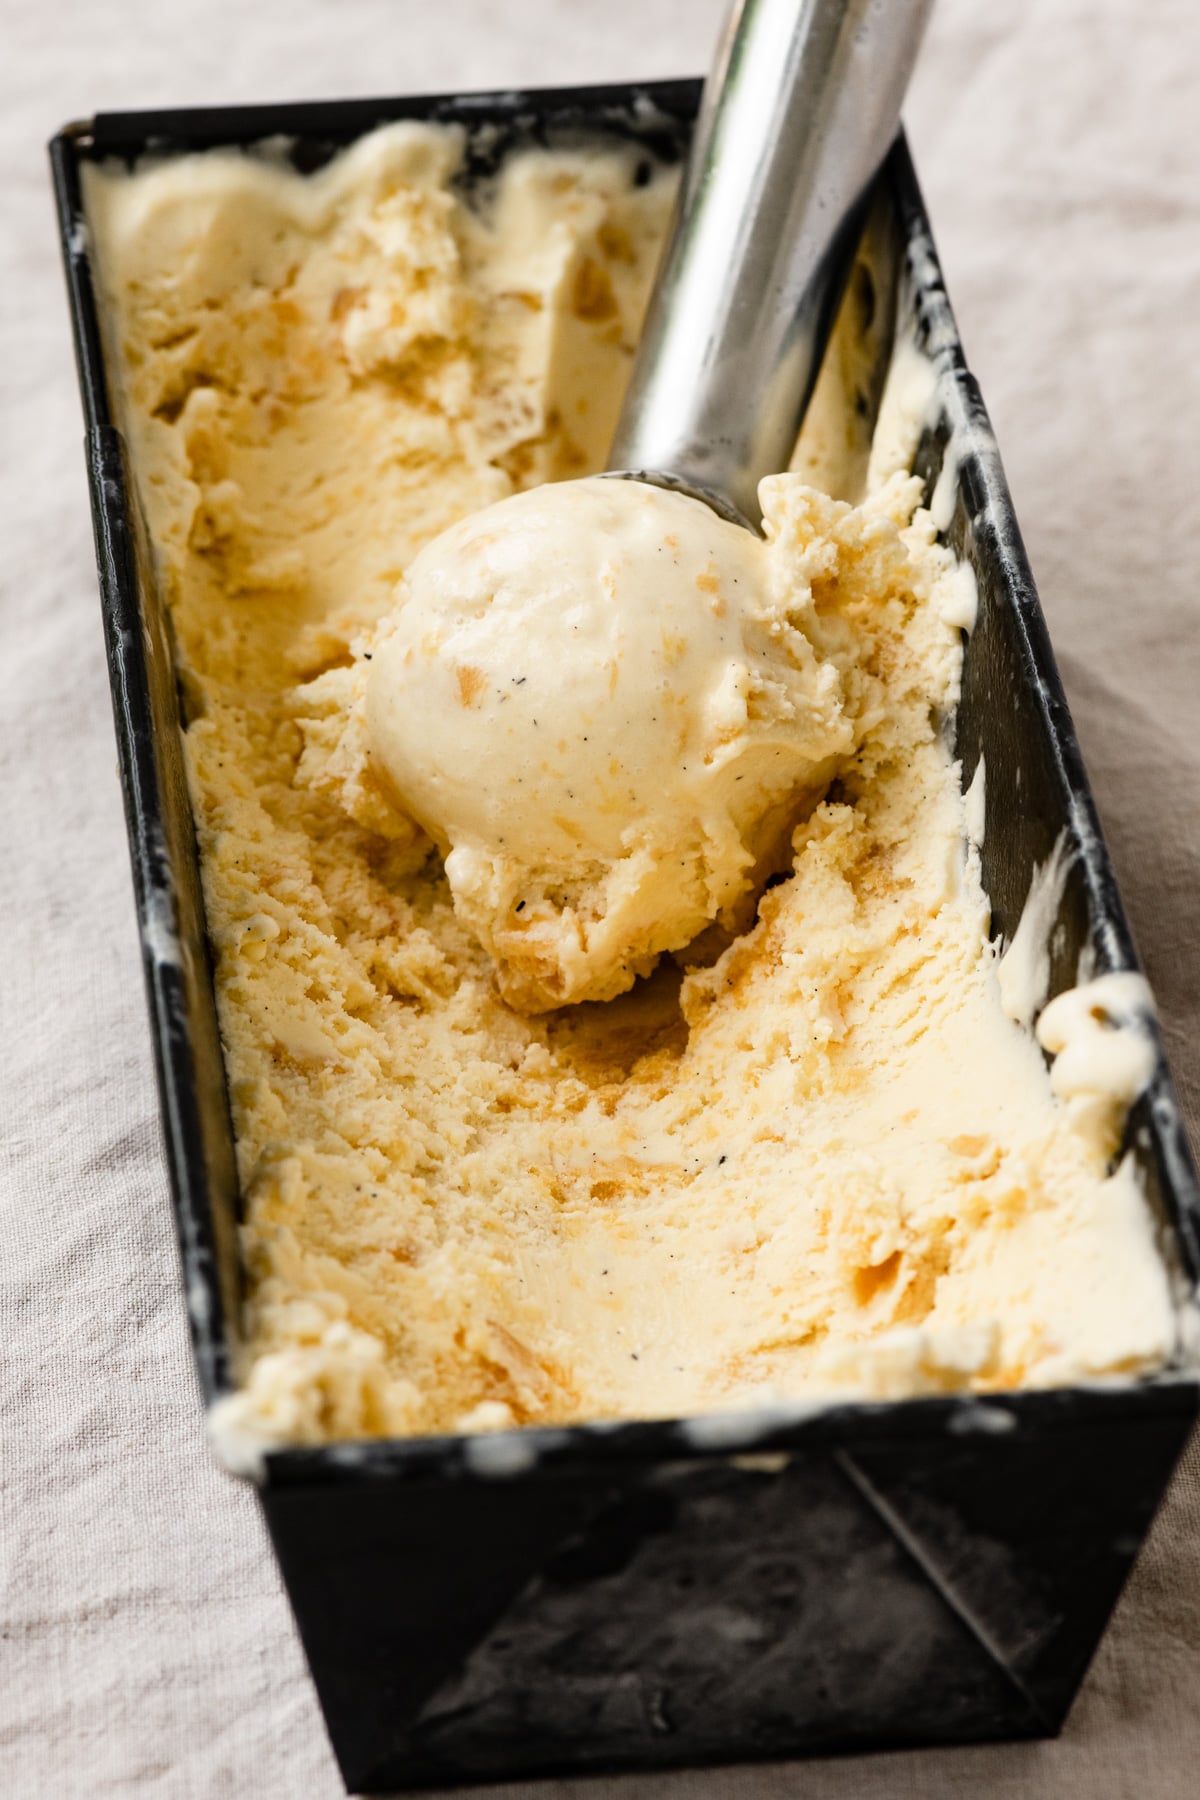
Transfer the honey ice cream to a freezer-safe container and smooth the top. Pop it in the freezer for 3-4 hours to set up fully. It’s best enjoyed within a couple of days—if it lasts that long!

Helpful Tips
- Use a Thermometer: Knowing the correct temperature the easiest way to prevent turning your ice cream base into cooked eggs. You can also skip the added step of tempering eggs in a separate bowl by adding them after the sugar and at the right temperature.
- Add Milk Powder: The addition of milk powder improves the overall mouthfeel or texture by adding protein and absorbing excess water. It can be found in the supermarket next to the canned milks.
- Chill the Ice Cream Base: Make sure the custard is fully chilled before churning. This “aging” step allows the dairy and egg fats time to bind together, which means you’ll get a richer, creamier ice cream in the end.
Storage & Leftovers
Store ice cream in an airtight freezer safe container, I love using my Tovolo Ice Cream Tub. Homemade ice cream is best eaten with 2-3 days, but can last up to 2 weeks in the freezer.
★★★★★ Please leave a star rating and review below if you make this recipe! THANK YOU!!
Salted Honey Ice Cream
Equipment
- heavy-bottomed, two-quart pot or saucepan
- metal sieve strainer
Ingredients
- 500 grams/ml (2 cups) heavy cream (32-35% butterfat)
- 500 grams/ml (2 cups) grams/ml whole milk (3.6% butterfat)
- 20 grams (3 tablespoons) skim or nonfat milk powder
- 1 teaspoon flaky sea salt, *more if needed
- 36 grams (3 tablespoons) granulated sugar
- 110 grams (7 large) egg yolks
- 226 grams (2/3 cup) natural honey
- 3 tablespoons bourbon, rum, or vodka, *optional
Instructions
Salted Honey Ice Cream Base
- ***If you're ice cream machine has a bowl that needs to be frozen, place it in the freezer now!
- Place saucepan over medium heat and whisk together the milk, cream, skim milk powder, and salt.
- Heat mixture until it reads 113℉ (45℃) on instant thermometer, stirring occasionally.
- Stir in the granulated sugar, followed by slowly drizzling in the beaten egg yolks, while constantly whisking. Since the liquid is not too hot at this point, it's easier to temper the eggs right after the sugar and directly into the base.
- Reduce the heat to medium-low and continue to cook the base until it reaches 180℉ (82℃) on the thermometer. Stir continuously with a whisk or silicone spatula to prevent over-cooking the custard at the bottom of the saucepan.
- The ice cream base is cooked when it reaches desired temperature, when it coats the back of a spoon and you can easily draw a line through the custard with your finger tip. **Remember it will be slightly thinner than other custard bases since the majority of the sugar will be added as honey in the following step.
- Immediately remove from heat and pour the custard through the mesh sieve into the large bowl.
- Stir in the honey, vanilla, and alcohol. Cool the base to room temperature, occasionally stirring to prevent a skin from forming. **I also take a handheld immersion blender and do a quick blend for smoothness.
- **You can place the bowl in an ice bath made using a larger bowl of water and ice to help cool it down faster.
- Once cooled, place a layer of plastic wrap directly onto the custard and refrigerate for a minimum of 6 hours or overnight. This "aging" step is important to create a cold ice cream base for churning.
Churn and Freeze
- Remove the cold ice cream base from the fridge and pour into your ice cream machine. Churn as directed for your machine, usually 28-30 minutes.
- The ice cream should look like soft serve when it's done.
- Transfer ice cream to a freezer safe container.
- Cover container with lid or plastic wrap and freeze for about 3-4 hours before serving. Scoop and serve with a little drizzle of honey and an extra sprinkle of sea salt.