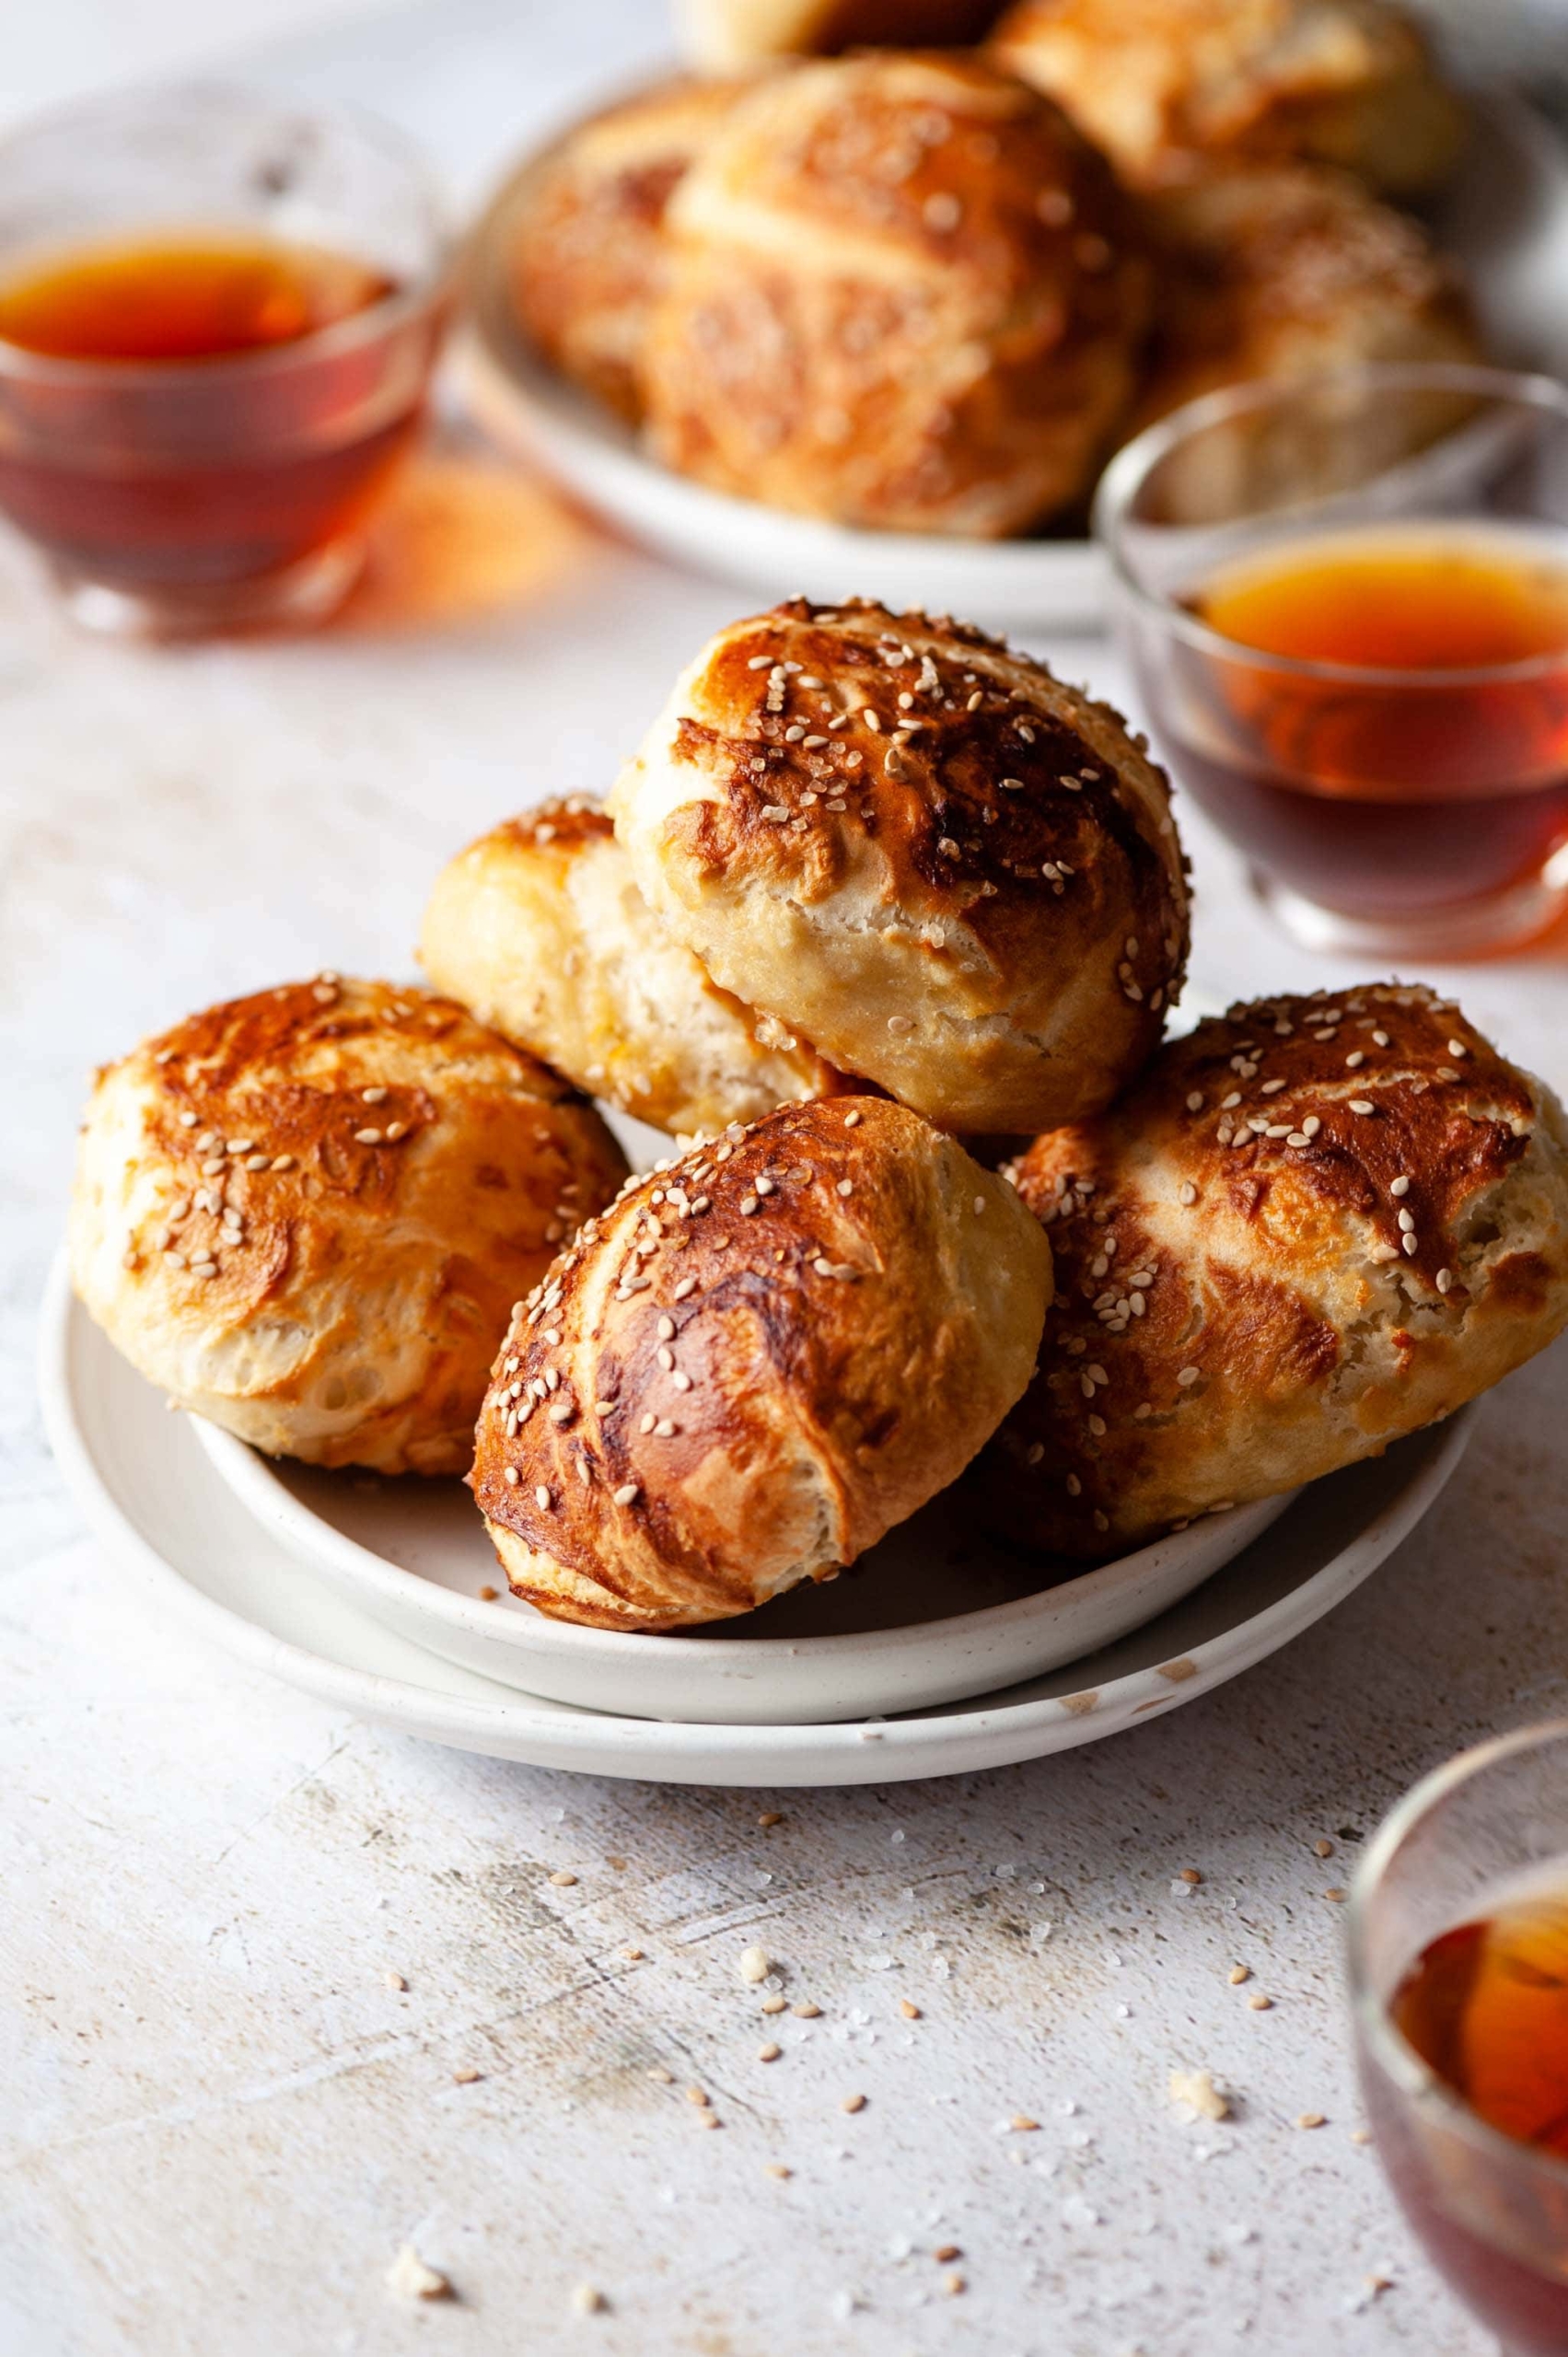
Homemade Pretzel Rolls have a soft center, chewy crust, with a top dressing of salt and sesame seeds. A more functional version of the classic soft pretzel. Whether you're looking for a snack, burger bun, or sandwich bread this easy pretzel bun recipe is for you!
I love the smell of hot pretzels whenever you stroll through the mall or go to a ball game. Even more so when the doughy aroma is filling my entire house! Besides just gnawing on them while I watch tv, I've used pretzel rolls for breakfast, burgers, and even as a sauce dabbing spaghetti bread. Maybe its the salty flavor that makes them so irresistible?!

Tips for Easy Homemade Pretzel Rolls:
- Don't rush the process, good bread takes time!
- Always prove dough in a plastic bowl. (metal bowls tend to retard the yeast and rise)
- If your house is cold, you can set your dough under the microwave light or in the oven with light on to prove. (make sure its a draft free warm place, sometimes I even set it next to a sunny window).
- For the second prove place on a lightly floured, parchment paper lined baking sheet, covered in a loose fitted plastic bag. Make sure to gently lift from the tray, to prevent causing the shape and air to be lost when transferring to baking soda bath.
- You can also set dough balls on a lightly floured counter and cover with a tea towel. Make sure there is enough space between them, so they don't grow into each other. Remove from counter using a bench scraper to drop them into baking soda bath.
- Slash a line across the center of each dough ball with a sharp knife or scissors. You can can a single short line or make a cross.
- Baked rolls should be golden brown and when tapped on the bottom sound hollow.


Easy Pretzel Rolls
Ingredients
Method
- In the bowl of stand mixer, combine sugar, yeast, and warm water. Whisk gently and let sit 10 minutes until frothy.
- Using a separate bowl whisk together flour and salt.
- Melt your butter and let cool. Once cooled, stir together butter and egg in a cup using a fork.
- Once yeast is frothy, pour in egg and butter mixture. Then, slowly spoon flour into mixer bowl using dough hook attachment at medium speed.
- After all flour has been incorporated turn mixer to medium high and beat dough for 5 minutes.
- Dough should be tacky but not too sticky to your hands. Check gluten formation by stretching a small edge of the dough with your fingers. If you can stretch the dough thin enough for light to come through without it breaking, the dough is ready. This is called the windowpane test!
- Apply a thin coat of oil to a plastic bowl, place dough in the bowl and cover with plastic wrap.
- Set bowl in a warm draft free place to prove for ~1-2 hrs. Dough should double in size.
- Once dough is doubled, gently remove and place on a lightly floured surface. Press dough down with your fist to remove excess air bubbles. Shape into a rectangle with hands.
- Using a bench scraper divide the dough into 12 equal portions. I choose to cut then weigh each portion to be exact. (divide into 3, then divide each third into fourths)
- Roll each portion into a smooth ball and set on a lightly floured, parchment paper lined baking tray. Make sure to leave space between each ball for additional rise. You don’t want them to grow into one another.
- Cover tray with a loose fitted plastic bag and seal the end.
- Place in a warm draft free location for a second rise, about 1 hr.
- Once dough has proved a second time, prepare your poaching bath.
- Fill a large pot ⅔ full of water, bring to boil and add baking soda.
- Preheat oven to 400 F (200 C).
- Gently remove one dough ball at a time and lower into boiling water with a flat slotted spatula or large slotted spoon.
- Poach 2-3 rolls at a time depending on size of pot.
- Let dough sit in water for total of of 60 seconds, flipping halfway.
- Remove and set on separate lined baking sheet, spacing 1 inch apart.
- Slice a line across the top of each dough ball with a sharp knife or scissors.
- Brush top and sides of rolls with egg and honey glaze. Sprinkle with salt and sesame seeds.
- Bake for 15 minutes or until golden brown and hollow sound when tapped on bottom.
- Place tray on cooling rack for 5 minutes before serving warm!


sheenam | thetwincookingproject
Oh my!! these rolls look so so good!!!
Jenn
Thank you Sheenam!! They are pretty tasty:)
nicole (thespicetrain.com)
I absolutely love your entire site, such beautiful photography and mouthwatering recipes. A Happy New Year to you! 🙂
Niki Scott
Just made these and they are delicious!!! A little pre Super Bowl recipe testing!
Jenn
Yay Niki! So glad you like them:) I would totally pig out on these during the Super Bowl!