
This post contains affiliate links. Please see our disclosure policy.
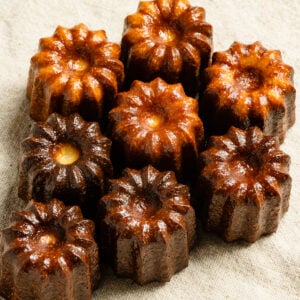
Living in Bordeaux, I eat my fair share of the city’s token pastry, the canelé. My favorite version has a touch of vanilla bean and a bit of the classic rum flavor. The outer crust has a deep flavorful caramelized texture that encapsulates a soft custard like center. I’ll show you how to make French canelés, the most popular pastries in Bordeaux.
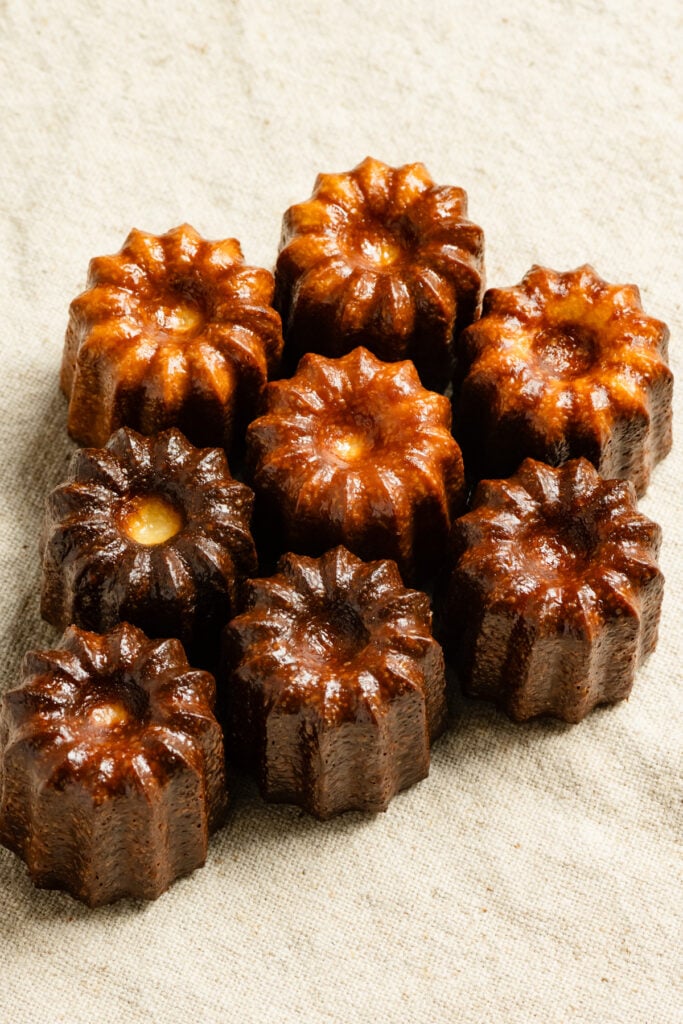
This Bordeaux originated classic french dessert is referred to as cannelés (pronounced “can-eh-lay”), or often spelled canelés. Fluted bell shaped pastry with a crispy exterior and rum infused custard center. A perfect accompaniment to your hot tea or coffee for breakfast or an after meal dessert.
Canelé shops line nearly every street in Bordeaux, and I live within walking distance of three. To develop this canelé recipe, I consulted methods from each local French bakery, along with the techniques I learned at pastry school. I shared the full journey, including what I discovered through my baking tests, in my newsletter about making Bordeaux canelés.
Key Ingredients & Test Notes
- Whole Milk: The base for the custard texture is best with whole milk. Sorry no substitutions here if you want a true Bordeaux canele.
- European Style Butter: For richness, I prefer butter with 82% butterfat, but you can swap it out for American style butter with 80% butterfat.
- All Purpose Flour: Standard baking flour with a protein level of around 11% gives just enough structure to the canelé without making it dense.
- Eggs: Both whole eggs and egg yolks are used to create this baked custard cake. since egg sizes can very greatly, make sure to weigh them properly.
Types of Canelé Molds
Caneles are traditionally made with individual copper molds, which are lined with beeswax before pouring in the batter. But, for this recipe I use a combination of melted butter and honey tested in both copper molds and a metal baking pan. Both options create a lovely crunchy crust as opposed to using a silicone mold that doesn’t transfer enough heat to the batter.
Copper Molds
The conduction of heat in the copper coated tin molds is superior, delivering evenly baked canelés with sharp fluted edges. I only invested in six mold and found it easy to bake in two batches. I just invert out the hot canelés, coat the molds again and fill with batter for the second set. No washing in between needed.
I purchased mine at Cassonade for €12 each. You can also find them from Mauviel and De Buyer.
Before using brand new copper molds, you’ll need to season them, annoying but not a heavy lift. Start by washing the molds in warm, soapy water and drying them thoroughly. Then coat the interior of each one with a thin layer of vegetable oil.
Place them open side up on a parchment lined baking sheet and bake for 1 hour at 350°F (180°C). Flip the molds upside down and bake for another 15 minutes. Then let the molds cool. I think of it as a part of my recipe, just like taking care of my cast iron skillets.
Non-Stick Steel Pan
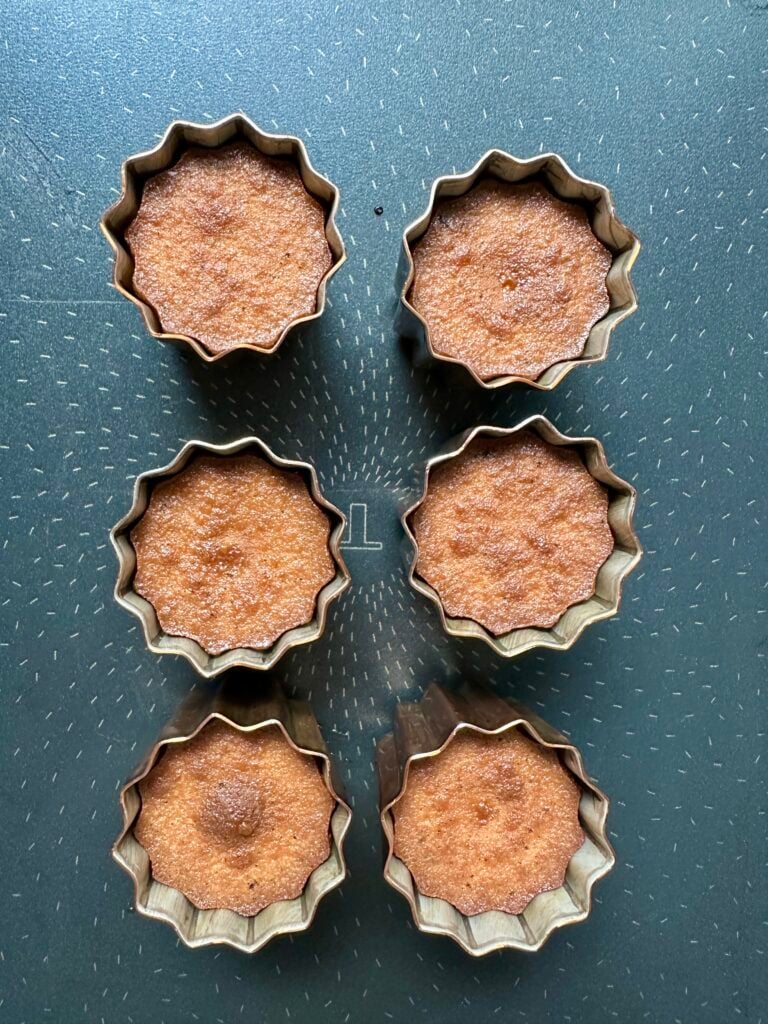
I use a 12-capacity non-stick steel pan from Le Creuset. It’s a dark pan, which I believe helps a bit with heat conduction. Although I did have some much darker edges on the canelés baked in this pan compared to the copper molkd.
From a practicality standpoint, it’s efficient and approachable. The main drawback and admittedly, my favorite excuse for preferring copper is the difficulty in checking for doneness. Instead of unmolding a single canelé to inspect its color, I have to flip out half the pan just to see if the tops are sufficiently browned.
The advantage for a pre-shaped pan is the consistency. Canelés baked in the steel pan are mostly uniform in color and puff less. I’ve heard other chefs have great success with lighter steel pans like this one from Chefmade at a much lower price.
Do You Need Beeswax for Canelé Molds?
I think a lot of people hesitate to make canelés because of the supposed requirement for beeswax. An ingredient that can feel unnecessarily elusive. I have purchased it online and at health food stores in the past.
But after reading dozens of canelé recipes and speaking with local Bordeaux canelé makers, I discovered that beeswax isn’t essential. And guess what? I didn’t use beeswax once in any of my tests. Every batch came out shiny, caramelized, and delicious.
Even in French pastry school we used either clarified butter or a can of baking spray with metal molds. Yep, even in Bordeaux they don’t always use beeswax!
How to Make French Canelés
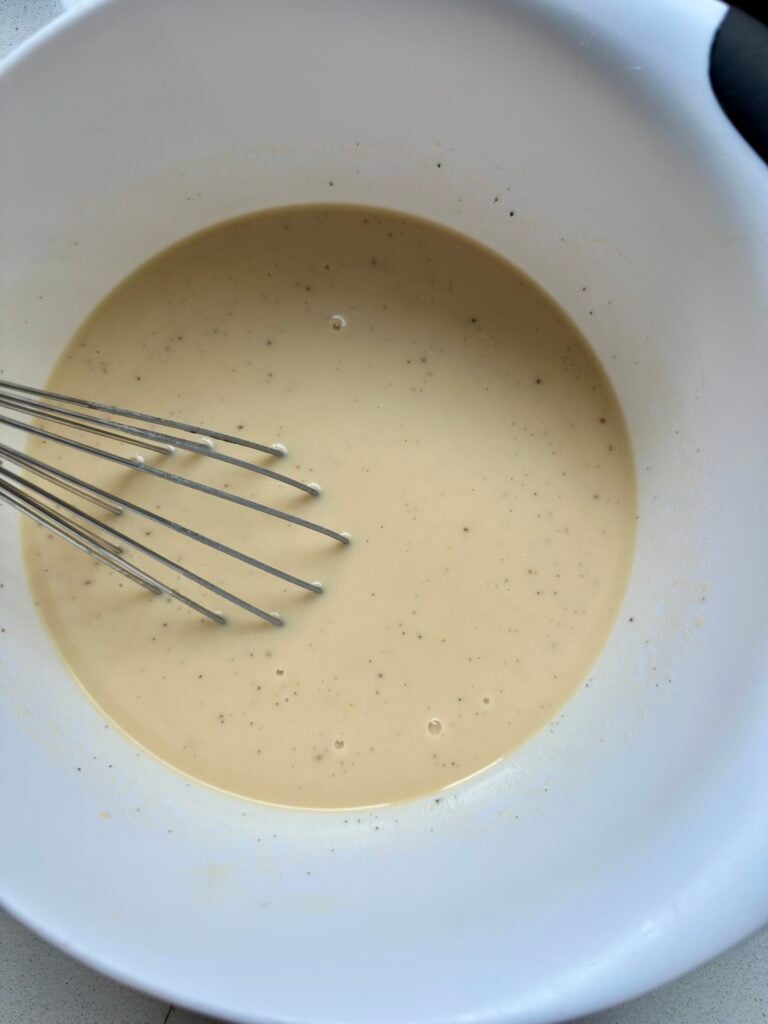
- Make canelé batter, cover with plastic wrap and refrigerate for a minimum of 12 hrs and up to 48 hrs.
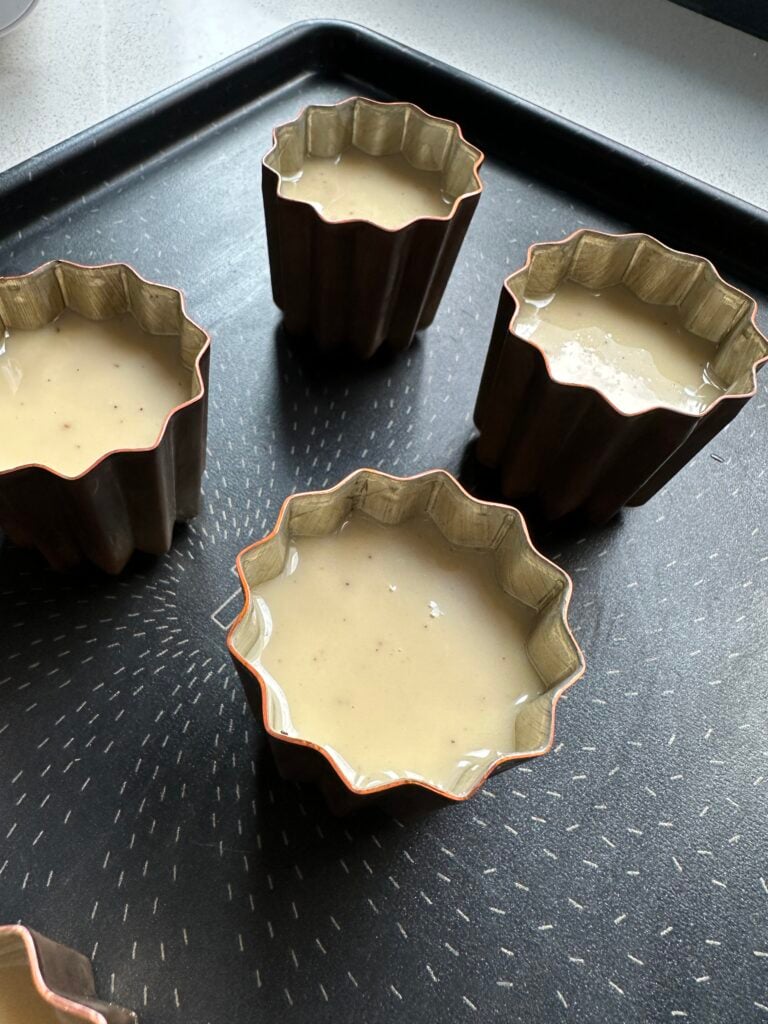
- Bring batter to room temp, prep molds, and fill. Place copper molds on a metal baking sheet. Skip if using a canelé molded pan.
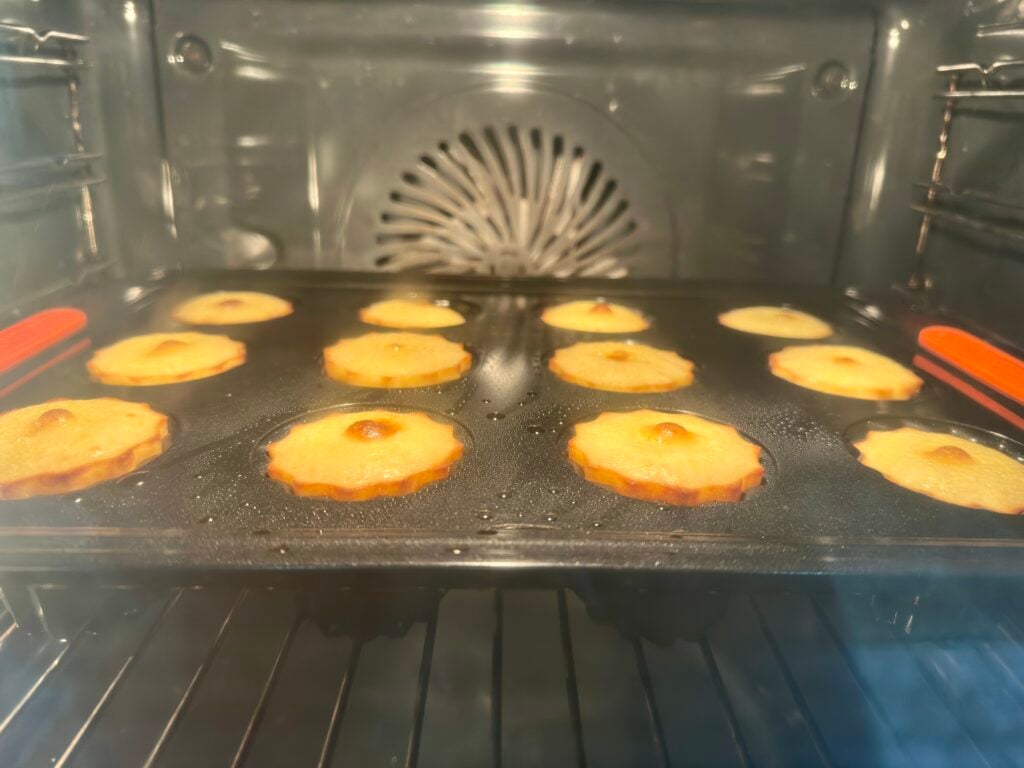
- Bake on the middle oven rack. The canelés will rise a bit out of their molds at first, but sink back down after a few minutes.
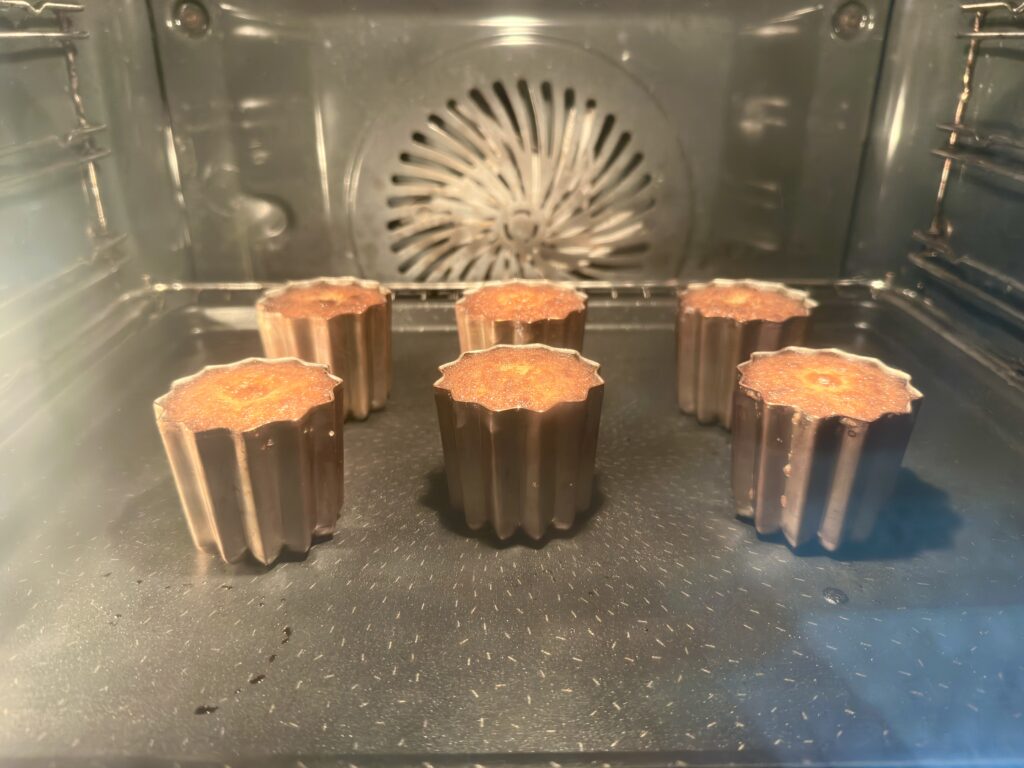
- Continue baking until the bottoms are a rich golden brown.
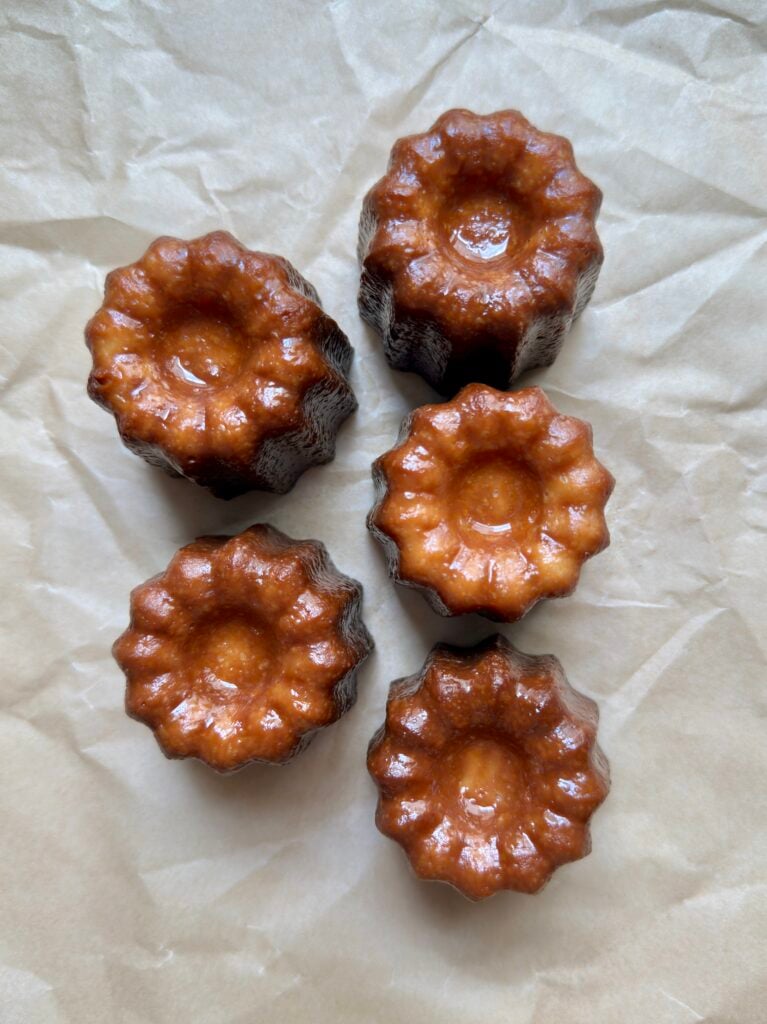
- Remove molds or pan from the oven and immediately inver upside down to release the canelés.
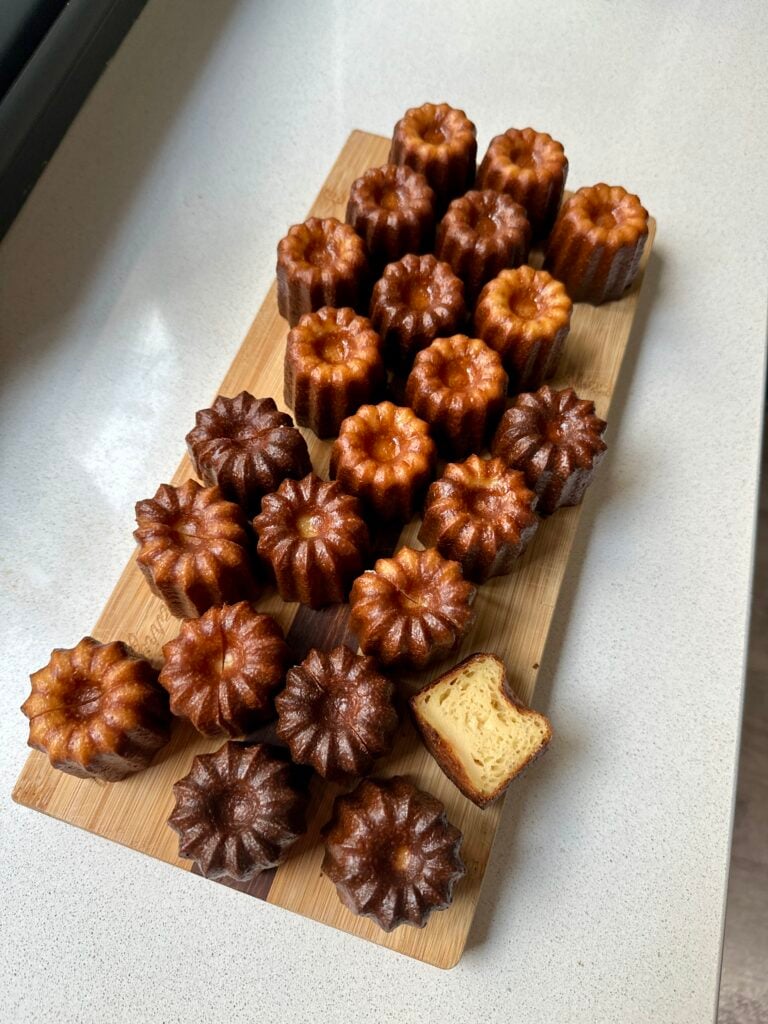
- Once cooled, eat the canelés within a couple of days. The crust is crispiest the day of.
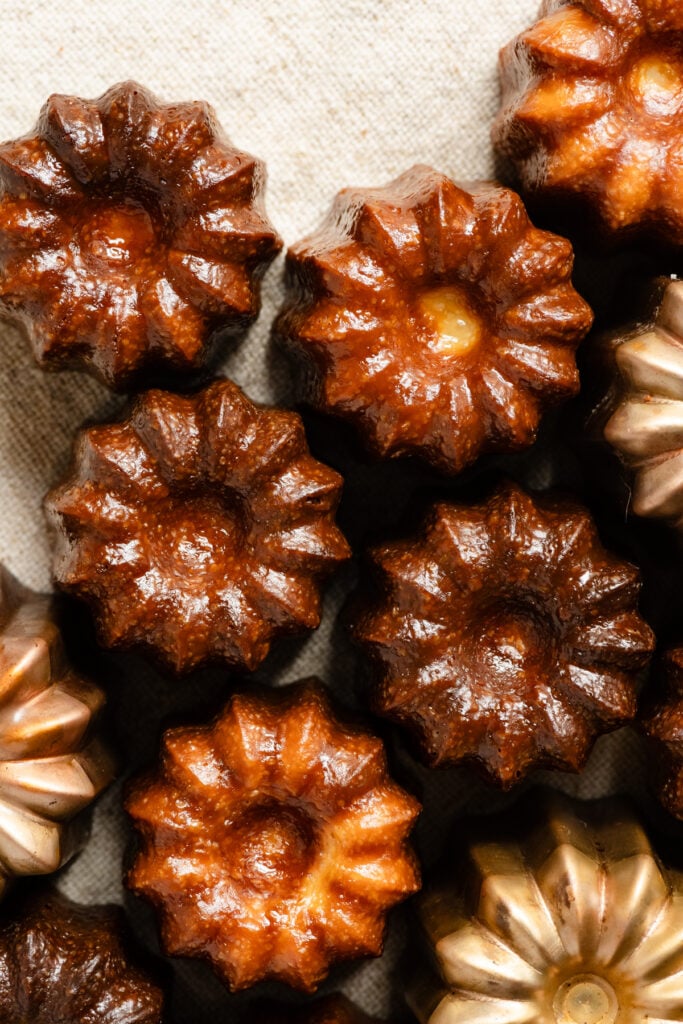
Cul Blancs aka white bottoms
You chill, then you un-chill. For me this is the difference between canelés that puff dramatically in the oven, leaving behind little cul blancs (white bottoms) and those that stayed anchored in their molds, browning evenly. Cold batter straight from the fridge doesn’t work for me, instead prefer to bring the chilled batter back to room temp before baking.
Worst case scenario, you have a couple canelés with white underbaked tops. Either put them pack in their molds or place them right side up on a baking pan and pop them back in the oven for a few minutes.
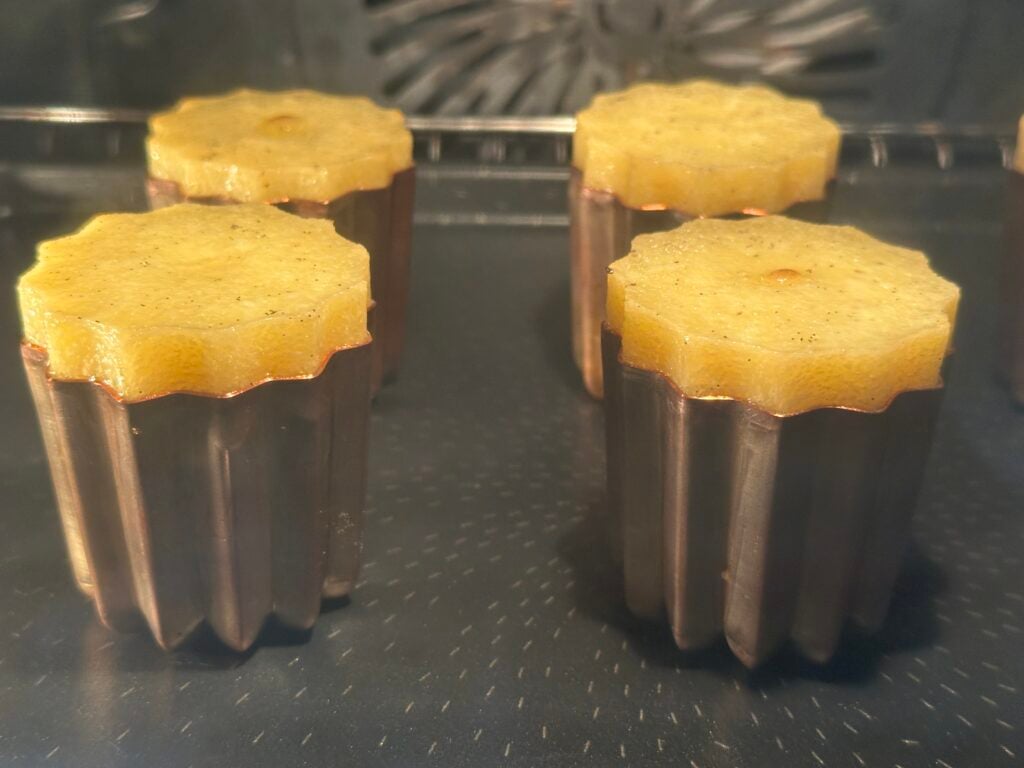
- Cold batter canelés over puffing from their molds in the oven. This also happens when the oven is not hot enough.
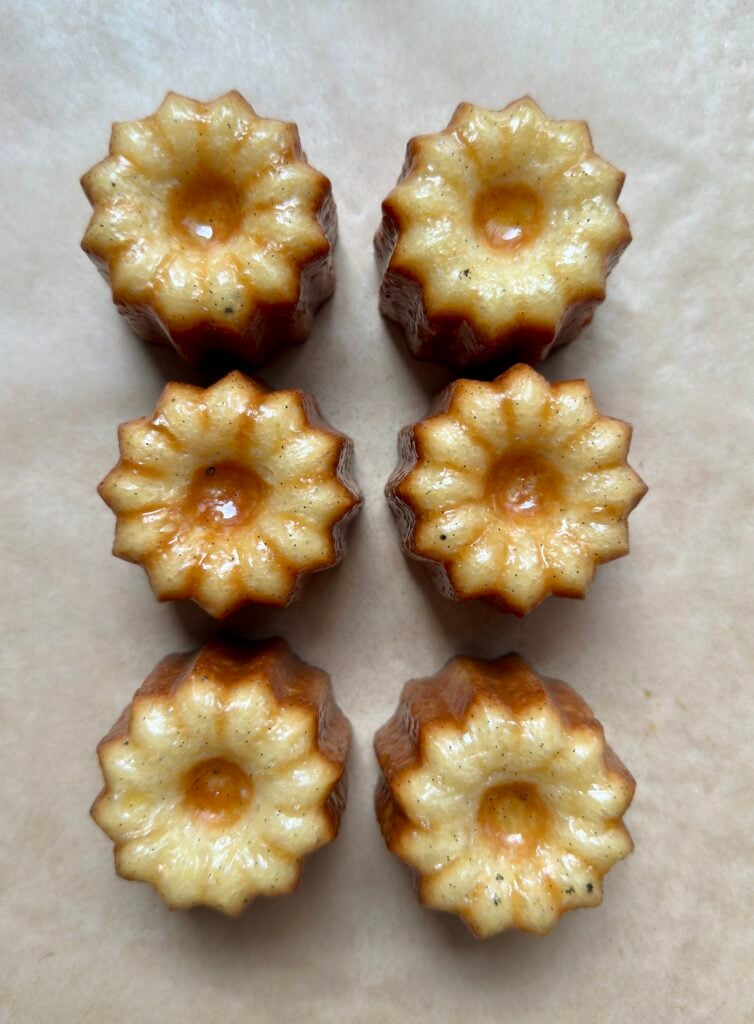
- Canelés that over puffed in the oven are left with underbaked light colored tops.
Jenn’s Canelé Tips
- This is a two day recipe. Make the batter on day one, chill, then bake on day two.
- Fill almost all the way. Pour batter into the canelé molds about 4/5ths full. For me this was about 65-68 grams of batter each. Any more and they’ll puff right on out, any less and you’ll have short little pastries.
- Bake in a HOT oven! The key to a crispy canelé is baking at a high temperature. If you under bake them, the texture of the center will also be compromised.
- If in the last ten minutes you feel they are getting to dark, then you can loosely lay a sheet of aluminum foil over the mold.
- Cool before eating! the custard center needs time to set once they leave the oven. If you bite into it right away the texture will be gooey.
- Canelés are always best eaten the same day.
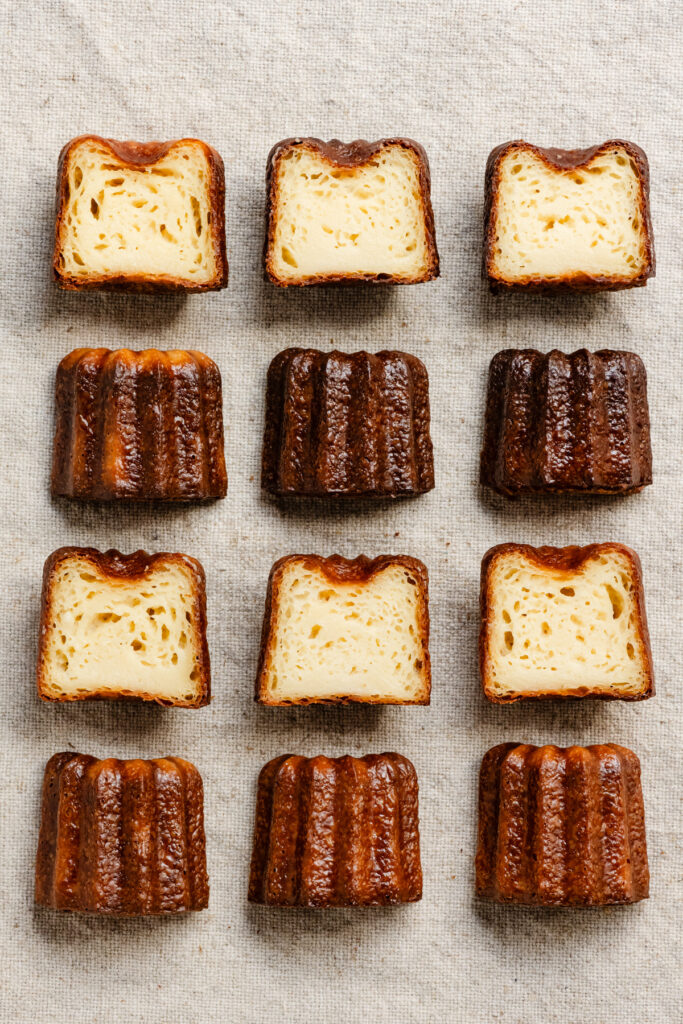
★★★★★ Please leave a star rating and review below if you make this recipe! THANK YOU!!
How to Make French Canelés
Ingredients
Canelé Batter
- 125 grams all purpose flour , (11% protein)
- 200 grams granulated sugar
- 1/2 teaspoon fine sea salt
- 500 grams whole milk
- 50 grams unsalted European style butter- 82% butterfat, about 4 tablespoons minus a teaspoon
- 1 Tbsp vanilla bean paste, or 2 vanilla bean pods scraped
- 50 grams egg
- 80 grams egg yolks
- 60 grams dark rum, optional
- 1 teaspoon orange blossom water, optional
Mold Grease
- 30 grams honey
- 30 grams unsalted butter, melted
Instructions
Make & Chill the Batter
- In a medium-large mixing bowl, whisk together flour, sugar, and salt.125 grams all purpose flour , 200 grams granulated sugar, 1/2 teaspoon fine sea salt
- Lightly beat together eggs and egg yolks in a separate small bowl.50 grams egg, 80 grams egg yolks
- Place milk, butter, and vanilla in a medium saucepan on medium heat. Stir together and bring to a simmer to melt the butter. Remove from heat and check that temp is cooled to 63°C (145°F) before proceeding.500 grams whole milk, 50 grams unsalted European style butter- 82% butterfat, 1 Tbsp vanilla bean paste
- Pour half of the warm milk mixture into the bowl of flour and sugar. Whisk slowly by hand until smooth.
- Stir in the eggs and yolks until well combined. Followed by the remaining milk, whisking into a smooth batter.
- Finally stir in the rum and orange blossom water if using.60 grams dark rum, 1 teaspoon orange blossom water
- Option to strain the batter through a mesh sieve to remove air bubbles or any lumps, but you shouldn’t need to.
- Place a piece of plastic wrap directly on the batter to prevent a skin from forming and set the bowl in the fridge.
- Chill the batter for a minimum of 12 hours and up to 48 hrs. This allows the flour to absorb some of the liquid, while the vanilla and rum enhance the overall flavor.
Bake the Canelés
- Set the batter on the counter at least 1 hour before baking to come to room temperature.
- Some of the solids will have separated, give it a stirring whisk to evenly distribute.
- Preheat conventional oven to 500℉ (260°C). Give the oven time to heat up.
- Stir the honey and melted butter together in a small bowl.30 grams honey, 30 grams unsalted butter
- If using copper molds: Pour the liquid honey into a mold, rotate to evenly coat and pour excess back into the bowl. Place the mold open side down on a plate. Repeat with remaining molds. Refrigerate molds for about 10 minutes to set the coating.
- If using baking pan: Take a pastry brush and paint a thin coating of the honey butter into each cavity.
- Fill the molds with batter about 4/5th of the way, leaving about 1/4-inch room at the top.
- Place copper molds on a baking tray, evenly spaced apart.
- Bake on the middle oven rack for 15 minutes.
- Lower temp to 400℉ (200℃) and bake for an additional 35 minutes.
- They may puff slightly during baking and settle back down on their own, no worries!
- Check that the bottoms are rich golden brown, if you see black around the edges they’re getting a little burned.
- Flip one out and check the tops. Return to oven for an additional 5 minutes if needed.
- Flip all canelés immediately out onto a cooling rack or parchment paper to cool right side up.
- The outer crust will firm and the filling will set as they cool. Hot canelés will have too gooey of a center if eaten right away.

This looks delicious. Could you please tell me what’s the weight of the whole milk in ml and Flour in grams? Just shows the sugar in the metric system. Thank you.
These turned out fantastic! Thank you!
These are so amazing! Thank you for posting this recipe.