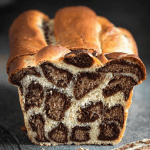
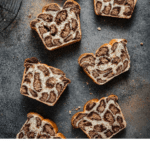
Leopard Milk Bread is a soft orange and chocolate milk bread loaf, made with layered dough to create leopard spots.
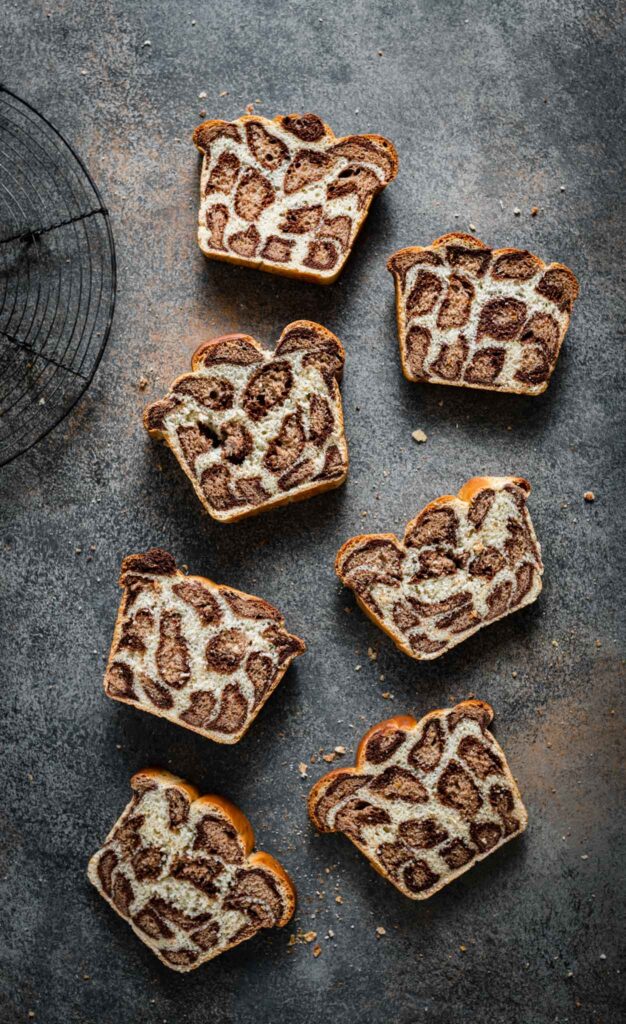
The use of milk instead of water is what makes this enriched dough so wonderful. The delicate springy textured of milk bread gives it more of a dessert feel than an actual loaf bread.
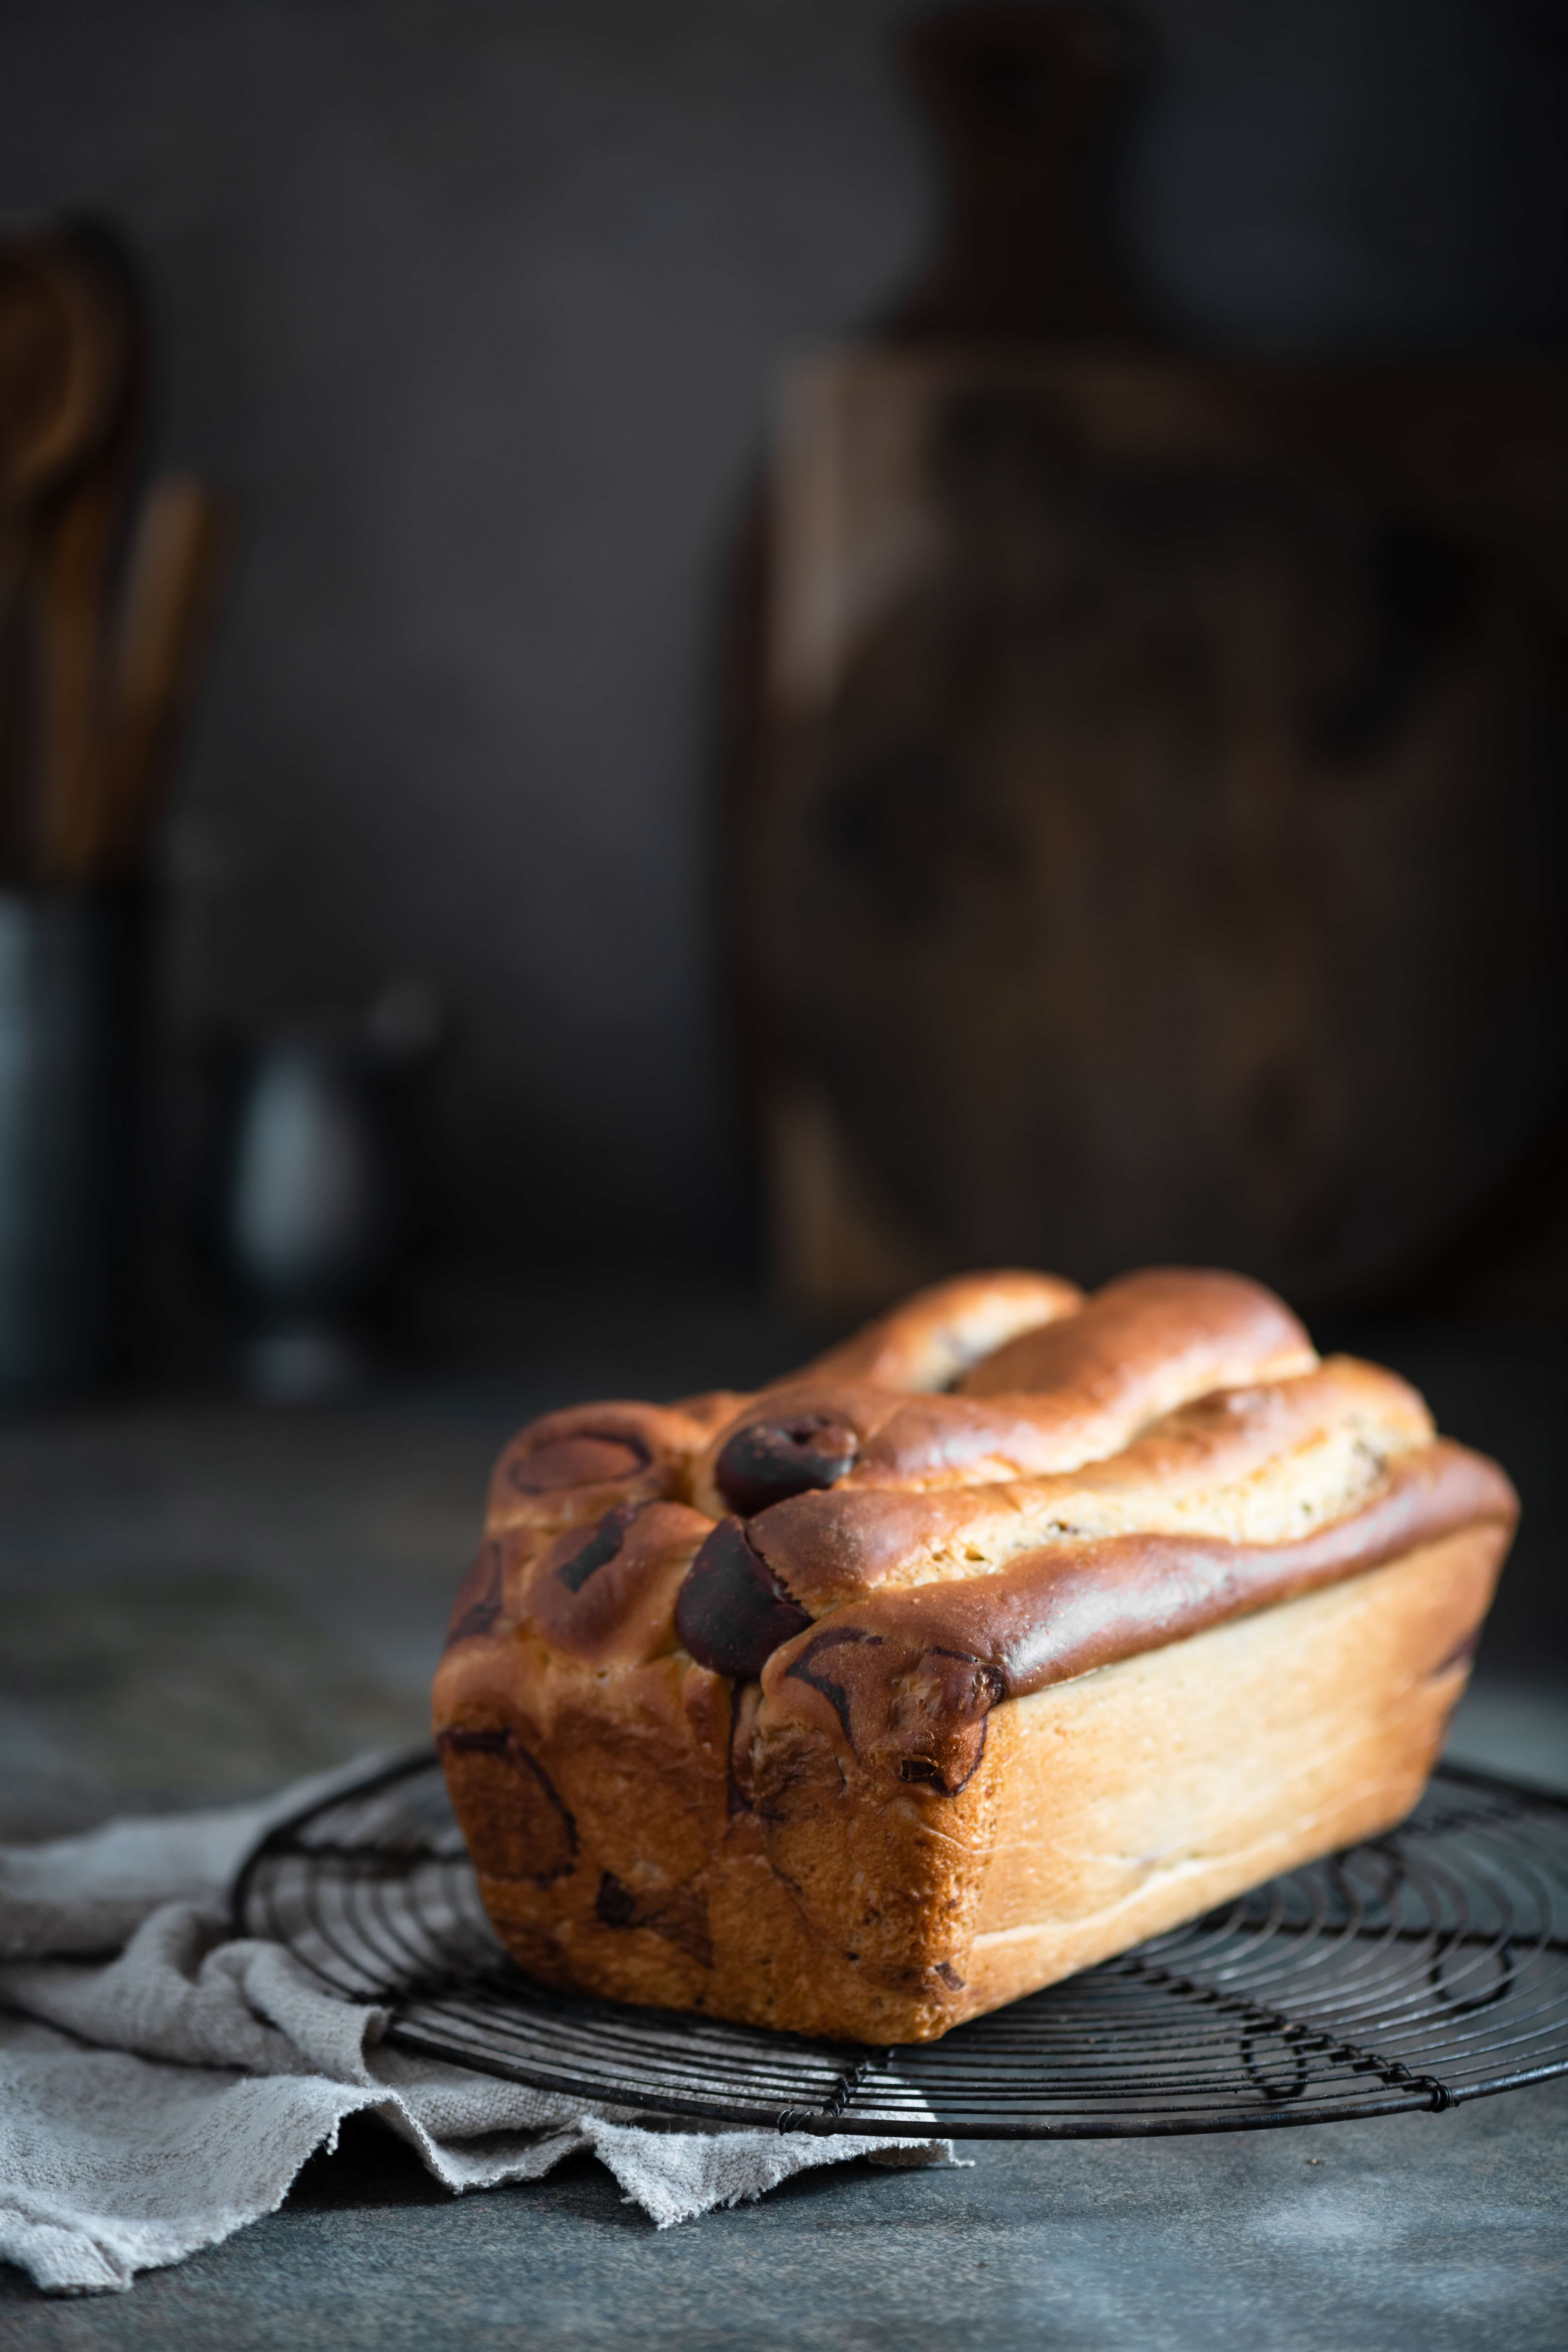
Leopard Bread or Giraffe Bread?
Some people say it looks like Leopard Spotted Bread and others say its more of a Giraffe Bread. What do you think?!
The best part about this recipe is the surprise when you cut the first slice. I love the excitement of seeing all the perfect layers of leopard spots. But, don't let the spots freak you out, its basically rolling up three flavors of dough into hotdog shapes and stacking them into the loaf pan. The hardest thing, is wrapping one color of dough around the other.
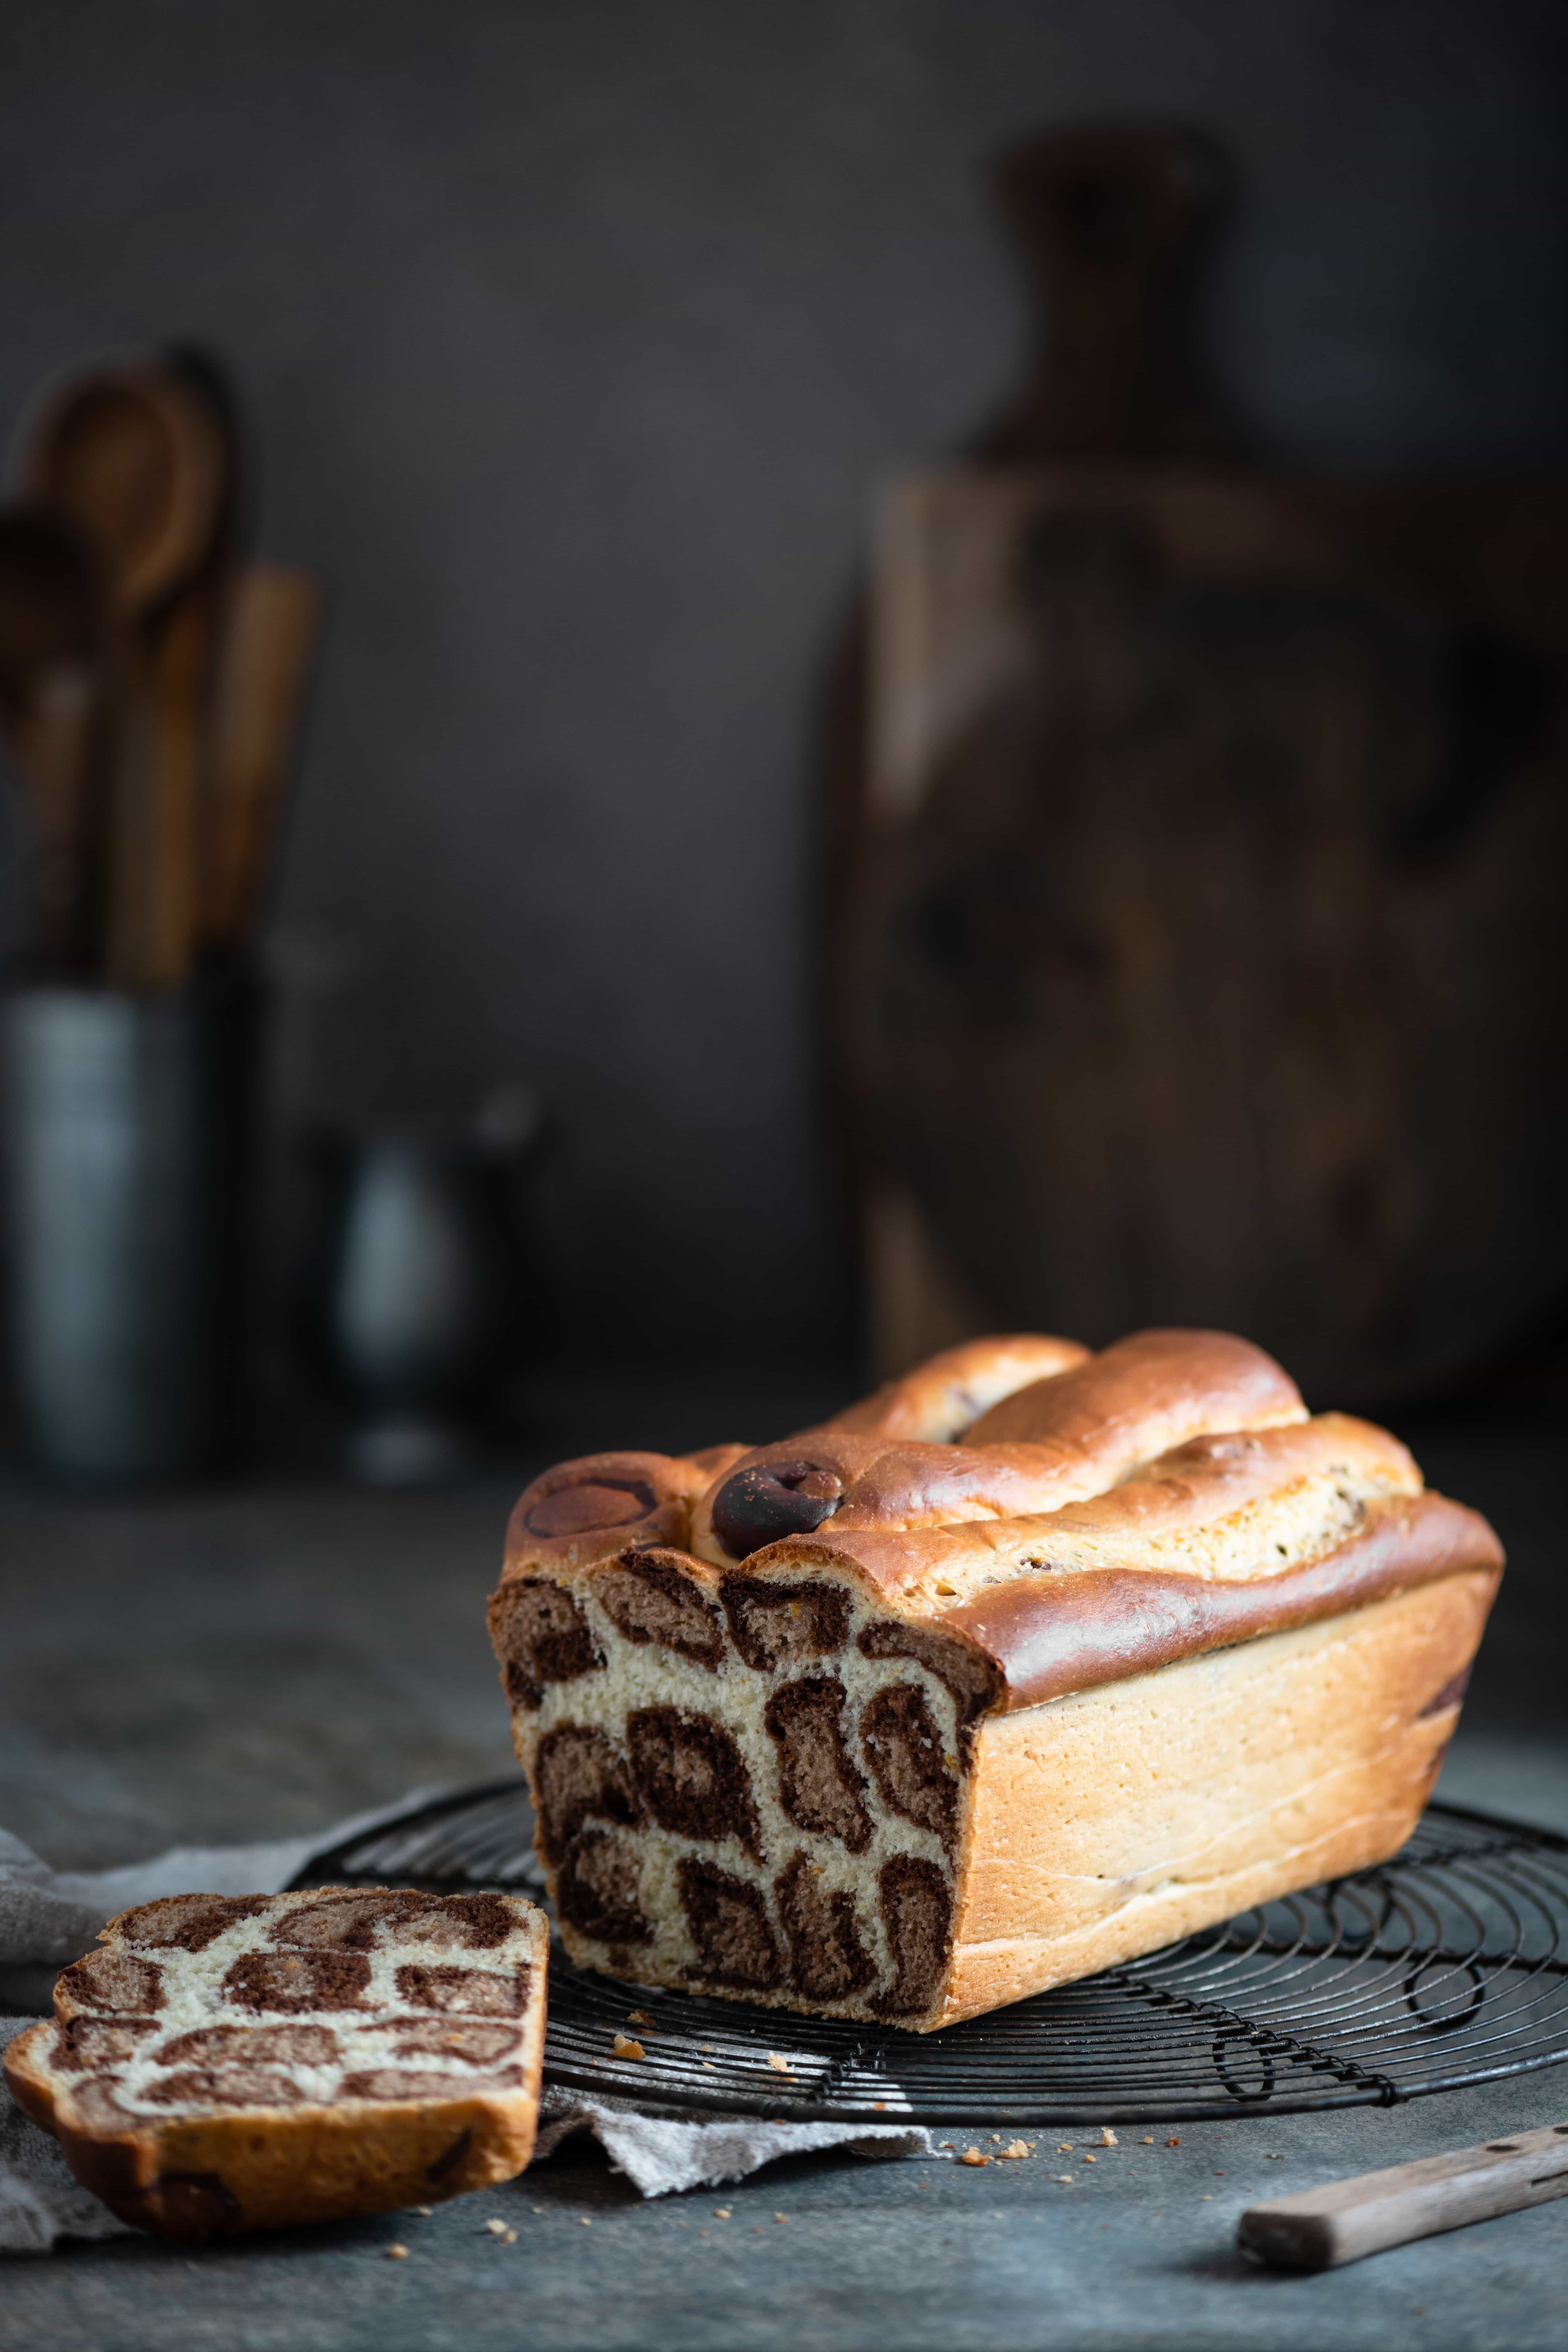
Tips for Making Leopard Milk Bread:
Make the Milk Bread Dough:
- Use whole milk or almond milk, either is fine. Make sure to warm your milk to 110 F, too hot and it will kill the yeast.
- Add the orange zest, sugar, and butter before spooning in your flour.
- Use the dough hook attachment on your stand mixer.
- Slowly spoon in flour in medium speed, and then turn up to medium high until dough has formed.
- The dough should be very slightly tacky, with a soft and smooth texture.
- Once formed, let the dough rest for about 10 minutes.
- Then either hand knead or beat with dough hook at medium high speed for another 6-8 minutes.
- Tear off a small piece of dough and stretch out with your fingers. A simple "window pane" test will let you know if the dough is ready. If not, beat for another 2-3 minutes and test again.
- Weigh your dough and divide into two halves.
- Lightly dust one half with flour, wrap in plastic wrap and place in the fridge.
- Take the second half and evenly divide it into halves.
- Now make you light and dark chocolate pastes in two separate bowls.
- Add one section of dough to each.
- Work the chocolate into the dough with your hands. Kneading to incorporate all the chocolate into each dough.
- You should now have one dark chocolate ball of dough and one light chocolate ball of dough.
- Lightly flour each ball, cover in plastic wrap and set in the fridge.
- Let all three dough balls chill for about 60-90 minutes.
Make the Loaf:
- Remove all three dough balls from the fridge.
- Weigh the white ball of dough and divide into 7 equal pieces.
- Repeat with the light and dark chocolate dough balls.
- You should now have 21 pieces of dough.
- Start by rolling each of the light brown pieces into a small hot dog shape.
- Then using a rolling pin roll each of the dark chocolate hunks into flat oval.
- Place the light chocolate sausage onto the flat dark chocolate oval.
- Using a pastry brush lightly coat the edges of the dark chocolate with milk.
- Then fold the dark chocolate over the light chocolate as if you were wrapping a hot dog bun around a hot dog.
- The result should look like a chocolate cigar.
- Now take the white dough and toll into a an oval with the rolling pin.
- Repeat the process by placing the dark chocolate wrapped 'sausage' onto the white dough oval.
- Paint the edges of the white dough with milk and then fold it over the dark chocolate, closing the seems.
- The result should now look like a log with a light chocolate center, a wrapping of sark chocolate, and then a final wrapping of white dough.
- Repeat this process with the remaining dough until you have 7 logs.
- Now, roll each log lengthwise with your hands, until it becomes doubled in length. Like a long snake.
- Slice in half.
- You should now have 14 skinny logs.
Bake the Loaf:
- Take an (11 x 21 cm) loaf pan and line with parchment paper that fold over the long sides for easy lifting of the finished loaf.
- Start stacking your dough logs into the pan.
- For this loaf I did layers of 4, with a top layer of 2 logs.
- Cover with a light tea towel and place in a draft free warm location to puff and double in size. At least an hour.
- Bake bread until inner temp reaches 190 F, it should be golden brown and sound hollow when tapped from the bottom.
- If you feel the loaf is browning too much, cover loosely with aluminum foil.
- Place pan on a cooling rack for 5-8 minutes.
- Lift loaf from pan by grabbing the overhanging parchment paper.
- Let bread cool another 10 minutes.
- Slice and serve.
- I recommend chocolate hazelnut spread, peanut butter, or honey for a topping!
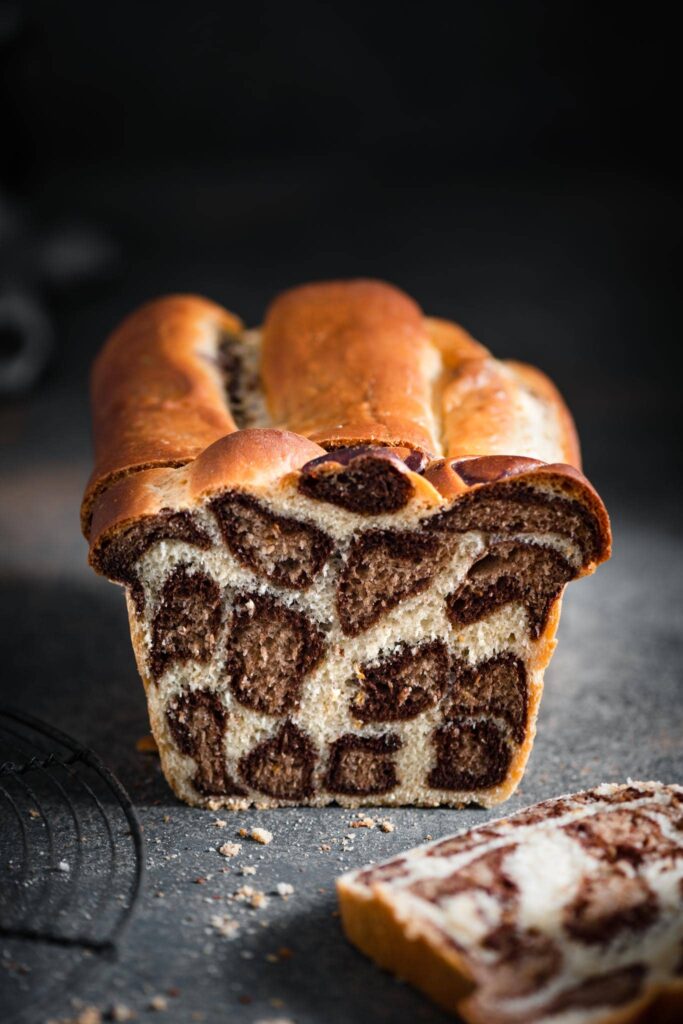
How to Store Leopard Bread
When storing your new spotted bread loaf its important to keep air circulating around the bread go prevent moisture building. We don't want a soggy loaf, nor do we want a completely dried loaf of bread either.
My favorite methods for storing yeast bread loaves are a paper bag or a cloth bread storage bag. Hold onto those brown paper shopping bags, or order a cloth bag specifically designed for storing bread. You can even wrap it in a breathable cloth. Keep your loaf on the counter at room temperature for up to 4 days.
Can I Freeze Homemade Bread?
Yes, you can freeze this leopard bread as a whole loaf or in individual slices. First, make sure the bread is completely cooled. Then, either wrap loaf or each slice separately in two layers of freezer safe plastic wrap. Seal the plastic wrap with masking tape and place bread in the freezer.
Frozen bread can maintain freshness for 3-4 months. When you plan to enjoy a slice, simply allow bread to warm to room temperature on the counter. Or pop those frozen slices right into the toaster!
How to Serve Leopard Bread
My favorite way to enjoy this chocolate and orange milk bread is a warms slice with a thin slather of peanut butter or chocolate hazelnut spread! You can also use it for a peanut butter and jelly sandwich.
If you feel the bread has gotten stale or no longer fresh, try turning it into bread pudding or french toast. The extra moisture from these two recipes will give it new purpose Besides after all that work these spotted crumbs should not be wasted.
FAQ's for Leopard Bread Recipe
Can you swap out the orange zest for a different flavor? Yes, if you're not a fan of orange and chocolate, replace the orange zest with 2 teaspoons of ground cinnamon and a half teaspoon of ground nutmeg. You can also add a teaspoon of espresso to each of the chocolate doughs.
Can I use only All Purpose Flour? Since this is somewhat of a structured loaf the bread flour helps create the perfect texture. If you don't have bread flour and want to use only All Purpose Flour, the result will be a softer bread that may not hold its shape as well.
you'll also love

Leopard Milk Bread
Ingredients
Method
- Stir cornstarch in cup of warm milk until dissolved.
- In the bowl of a stand mixer, combine milk mixture, yeast, and 2 tablespoon of the sugar. Gently stir together and let sit for 8-10 minutes until frothy.
- Add melted butter (cooled to room temp.), the rest of the sugar, salt, vanilla and orange zest to yeast mixture.
- Using the dough hook attachment mix on medium low speed.
- Slowly spoon in flour on medium speed, and then turn up to medium high until dough has formed.
- The dough should be very slightly tacky, with a soft and smooth texture.
- Once formed, let the dough rest for about 10 minutes.
- Turn mixer back on to medium high and beat for 6-8 minutes.
- (Tear off a small piece of dough and stretch out with your fingers. A simple "window pane" test will let you know if the dough is ready. If not, beat for another 2-3 minutes and test again.)
- Remove dough from bowl and place on a lightly floured surface.
- Weigh your dough and divide into two halves.
- Lightly dust one half with flour, wrap in plastic wrap and place in the fridge.
- Take the second half and evenly divide it into two halves.
- Make Chocolate Pastes
- Use a separate bowl for each paste.
- Stir cocoa powder and milk together with a spoon.
- You should have one thick chocolate paste and one light chocolate paste.
- Place one of the remaining halves of dough in each bowl of paste.
- Work the chocolate into the dough with your hands. Kneading to incorporate all the chocolate into each dough.
- You should now have one dark chocolate ball of dough and one light chocolate ball of dough.
- Lightly flour each ball, cover in plastic wrap and set in the fridge.
- Let all three dough balls chill for about 60-90 minutes.
- Remove all three dough balls from the fridge.
- Weigh the white ball of dough and divide into 7 equal pieces.
- Repeat with the light and dark chocolate dough balls.
- You should now have 21 pieces of dough.
- Start by rolling each of the light brown pieces into a small hot dog shape.
- Then using a rolling pin roll each of the dark chocolate hunks into flat oval.
- Place the light chocolate sausage onto the flat dark chocolate oval.
- Using a pastry brush lightly coat the edges of the dark chocolate with milk.
- Then fold the dark chocolate over the light chocolate as if you were wrapping a hot dog bun around a hot dog.
- The result should look like a chocolate cigar.
- Now take the white dough and toll into an oval with the rolling pin.
- Repeat the process by placing the dark chocolate wrapped 'sausage' onto the white dough oval.
- Paint the edges of the white dough with milk and then fold it over the dark chocolate, closing the seems.
- The result should now look like a log with a light chocolate center, a wrapping of dark chocolate, and then a final wrapping of white dough.
- Repeat this process with the remaining dough until you have 7 logs.
- Now, roll each log lengthwise with your hands, until it becomes doubled in length. Like a long snake.
- Slice in half.
- You should now have 14 skinny logs.
- Prepare loaf pan with parchment paper
- Stack dough logs into the pan.
- Cover with a light tea towel and place in a draft free warm location to puff and double in size. At least an hour.
- Preheat oven to 375 F (190 C).
- Then turn down to 350 F (176 C) and place loaf into the oven.
- Bake for 35-45 minutes or until inner temperature reaches 190 F.
- Place pan on a cooling rack for 5-8 minutes.
- Remove loaf from pan.
- Let bread cool another 10 minutes.





Maura
Thanks so much for posting. It was so much easier than it looks. I used a sourdough bread recipe and it turned out great. I wish I could post a picture here to show you.
Jenn
Thats wonderful!! I would love to see it. Send a pic via email!
Zeina
Great recipe but mine came out more giraffe than leopard. Please explain the stacking stage. Great hit with guests!
Jenn
Hi Zeina!! I just stack the logs on top of each other, no particular order:)
Zeina
Thanks! I’ll try it again and keep you posted!
Bella o
Hi! Do you think you could post a video of the process of making this? The instructions are bit complicated! Thanks!
Jenn
Hi Bella! There is a step by step video on Instagram @twocupsflour in the highlights titled Leopard Bread ..Is there a certain part you are having trouble with?
Michelle
Hi! I just made this. It looks and tastes so good! One question: It took me what felt like forever to get the cocoa pastes kneaded into the doughs. I also felt that my pastes were a little too dry and I had to add a bit more milk and more paste to get the doughs coloured all the way through. I am thinking that I must be doing something wrong. Thank you for any advice you can give me.
Nina
Such a great idea!! I had so much fun doing it and so did my kids. Already the name was fun for them and they were waiting with great anticipation how it will turn out when baked.
I was a bit sceptic if they will eat because I put the zest of the whole orange inside. ( my kids are extra picky 🙈🥺) but it turned out great and so tasty! The kids said it’s very yummy !
Approved ✔️ Yaaas!🙌🏻
Thank you for such a great inspiration! 🐆🐾
Anca
I wish there was a video or picture tutorials! My 10 year old would love to try this. Look very pretty.
Jenn
Hi Anca, there is a step by step video in highlights on instagram @twocupsflour titled Leopard Bread.
Calvin
Is there a pre mix you can buy so you don’t have to make all the dough? Cheating I know but I don’t have a mixer!
Jenn
HaHa! No, I make everything from scratch. But if you don't have a mixer, just knead by hand:) Little elbow grease will do the trick!
Sandy Philpott
Any suggestions for leaving out the orange zest? I don't have any oranges (I don't really like them anyway), but I'm thinking of either substituting lemon, or going completely off book and throwing in a little cinnamon or even instant coffee instead. Has anyone else made a substitution like that?
Maria
I was wondering the same thing. Cinnamon or coffee sound great, I don’t think you can go wrong with either, but would either change the color at all?
Charlie
If you flavor the chocolate parts with the cinnamon it shouldn't change the color. Lemon goes with chocolate, I think you could even use a little grapefruit zest. Any citrus zest will do. Meyer lemon would be brilliant if you can find it!
Nita
Thanks for sharing the recipe, Jenn. I am adding it to my "Must Try" recipe collection.
Raven
I am guessing anything you think goes well in a chocolate bar would go great in the bread instead of orange, just be aware some are more wet than others and so you need to watch the amount of other liquids you add.
All your ideas would work if my brain is picturing the taste right 🙂 Let us know how it goes.
Jaclyn
Would this work with regular all purpose flour?
Karunesh Sunil Potdar
I tried this in my home as your steps you write in this article and this is so easy to make this recipe. It is amazing to make and very interesting.
Very useful and helpful for me to make recipes like that very easily in my home.
Thank You!!!
Sirisha
Oh goodness! This recipe is a keeper! I made it last night for the first time as this pattern bread was in my checklist. It was almost 9.30 p.m I finished baking this and it’s 1 p.m for us right now and I don’t see a crumb of this bread at all. All gone in less than a day.
My family LOVED it. I have replaced bread flour with unbleached all purpose flour and sugar with light brown sugar as I didn’t have bread flour and white sugar handy. Thank you so much for the recipe and detailed instructions.
Jenn
Hi Sirisha!! I'm so glad you liked the recipe!! Thank you so much for giving it and try and letting me know your feedback:)
Louellen
I'm going to try morph this into a sourdough recipe. Can you share what role the cornstarch plays for the recipe?
Jenn
the cornstarch helps create a lighter texture to the bread by softening some of the protein in the flour.
Debbie
I made this yesterday and it turned out great! Thank you for the recipe!
Rachna
Hi, What is the size of pan you have used for the leopard bread recipe?